Hi everyone! Welcome to Day 3 of my Valentine’s Showcase!
In case you’ve missed the previous two days, here’s the low-down:
Due to the popularity of my 25 Days of Christmas Cards posts (well, they were popular with me anyway!), I thought I’d bring you a series of cards that are perfect for Valentine’s Day! And, just to give this series a little twist, I am challenging myself and keeping them all as cards that are suitable for guys! Every year I see a smorgasbord of beautiful Valentine’s cards, and they are all very well done and very inspiring – but they all tend to be very girly. So I’m bucking the trend and bringing you a fortnight of cards dedicated to the men in our lives!
I’m starting to find these to be quite a challenge myself – not because they’re masculine cards but because I’m striving to make every one different and suitable for different kinds of guys!
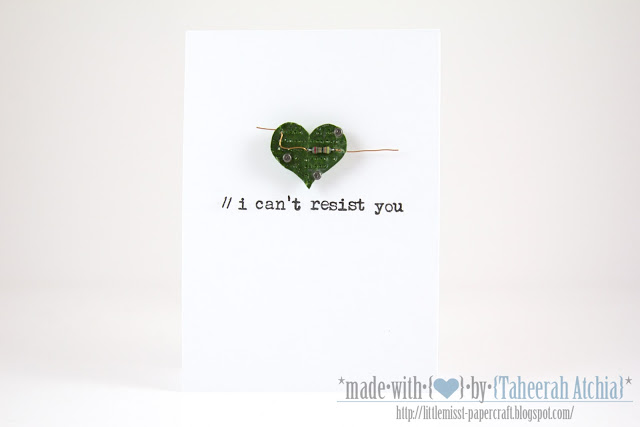
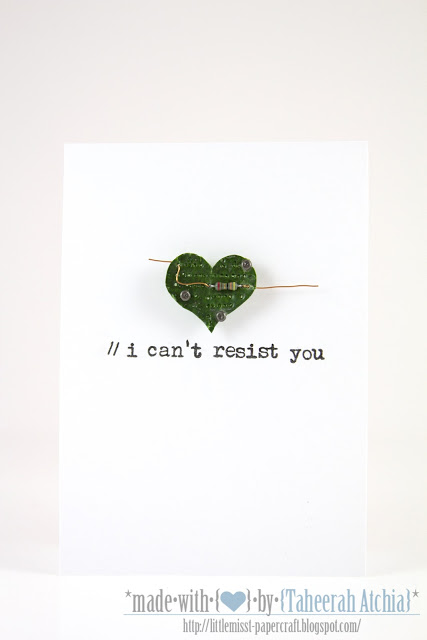
It’s no secret that I’m a geek (if this is news to you then where have you been?!). I also work in a geeky industry. Thus it’s no surprise that there are a lot of geek guys in my life. I love it, and I love them! So today’s card was designed for all those computer geeks in mind:
What do you think? The artistic side of my brain is squealing with joy at how this card turned out, and the geeky side of my brain is totally crushing on the geekiness of it all!
I started with a piece of New Leaf cardstock and rubbed SU! Garden Green ink over it to darken it up a bit. Next I stamped one of the hearts from Avery Elle’s Lots of Love set using Versamark ink and heat embossed it with WOW! Clear Semi Dull embossing powder. I actually then trimmed out the heart and pressed it into the Versamark pad again and repeated the embossing a few more times so I built up a nice thick coat.
I then pierced lots of holes in the heart – and then comes the fun part!
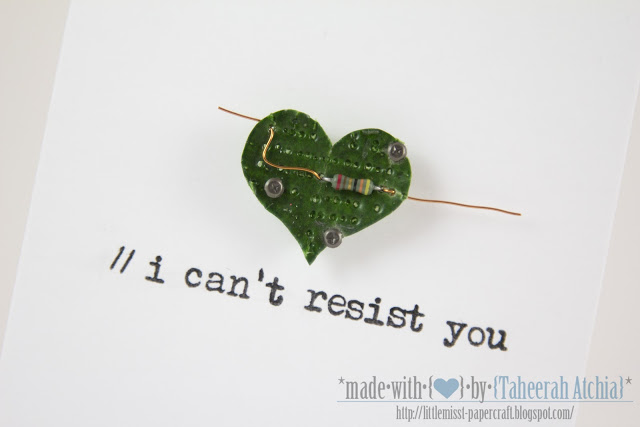
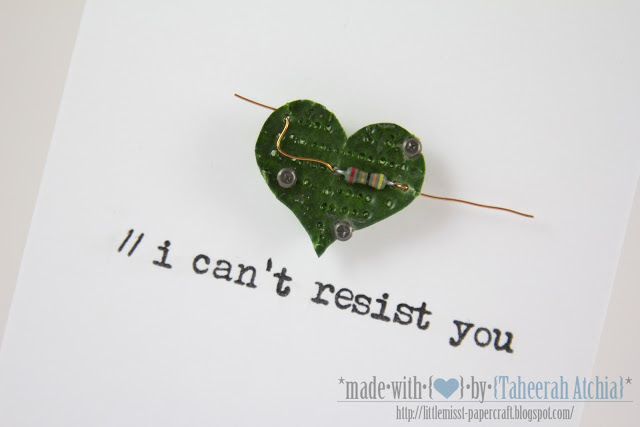
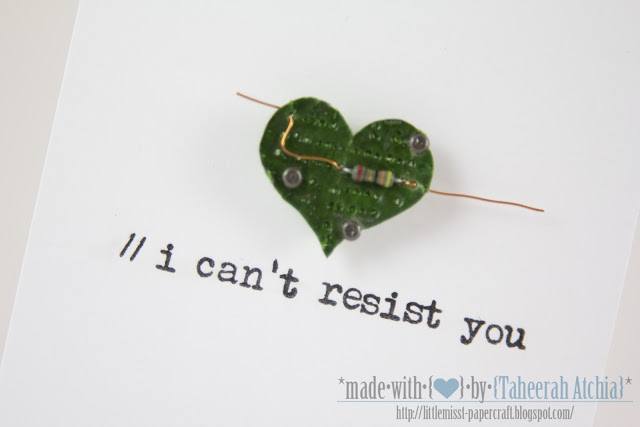
See, that’s a real resistor in there! I had some lying around (see, geek), so I fed one through the heart and trimmed the wires to size. I did the same with come copper soldering wire to build up my design, finally finishing it off by adding some Tim Holtz Tiny Fasteners to it.
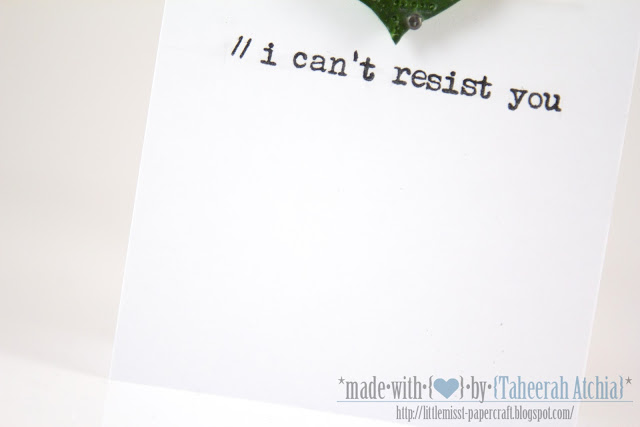
I prepared my Stamper’s Select White card base and made the sentiment using MFT’S Typewriter Alphabet set – perfect for a coding font! The two slashed at the front represent that the sentiment is a comment, which is to cover up the fact that I started stamping too far to the left add an extra fun coding factor!
I then adhered the circuit board heart to the base using lots of Pinflair Glue Gel to build up a good amount of dimension – and I was all done!
As I’ve said before I would love to know your thoughts on this series. Are you loving what you see? Are there any particular types of masculine Valentine’s your having trouble with or would like to see me tackle? I’d love to know!
Thanks so much for stopping by – I should be back here to see you again later!
For Day 1 of this series click here.
For Day 2 of this series click here.


Okay, I had to read your whole post because I didn't "get" your card! Sigh, I guess I'm not a geek! LOL!
Super clever, T.!
What a fab idea! So clever. Makes me shudder a little as it transports me back to work experience when I sat sorting resistors for 2 weeks!
Wait, did I already say "brilliant?" OK, ok, then you are genius! I thought you cut this from a real circuit board! Looks FANTASTIC and the pun (with the "//") is so UNIQUE!
Taheerah, I don't know how you come up with these ideas, but it's awesome! LOVE the green!
This is so totally cool, really, totally cool.
Oh my! I love this!
oh my!! This idea is so so COOL! I LOVE it!! you are awesome!!
loving this card and can totally see my DH crushing on it too. very clever.
So clever! I love this Taheerah, you are on a roll!
Fabulously clever!
LOVE!!!!!! This card made me smile:)
Not only absoutely stunningly pleasing to the eye but engaging the brain too! LOVE this!
Sqeeeel!! Taheera this is probably my favourite of any of your cards ever!! Even as a mere biologist this makes me smile – pure genius!
Seriously? You are one crafty lady. I absolutely LOVE this! And reading about how you made it is even more impressive 🙂
Brilliant!
So super clever, Taheerah! I love all the amazing detail you put into the heart!
AWESOME & a card truly appreciated by a pun-loving, significant other of a geek!;D
Right, I'm off too root through Chris' supplies….!
Hugs!
x