Hey everyone, I hope you’ve had a lovely Easter! I’m still on Cloud Nine after my amazing news!!!
I’m popping on today to share something that’s incredibly rare for me:
A true, pure CAS card.
Well, I still found some ways to make it complicated in my own way, but that’s just me I guess!!
I few years ago I saw this awesome card on Susan Raihala‘s blog. I loved it then and I still love it now. The other day I decided that, finally, I wanted to recreate something similar with my own spin on it. Alas, the set that Susan used has long since been discontinued, but I didn’t let that stop me!! In fact it gave me just the excuse I needed to create something of my very own, and take it to the next level.
So, without further ado:
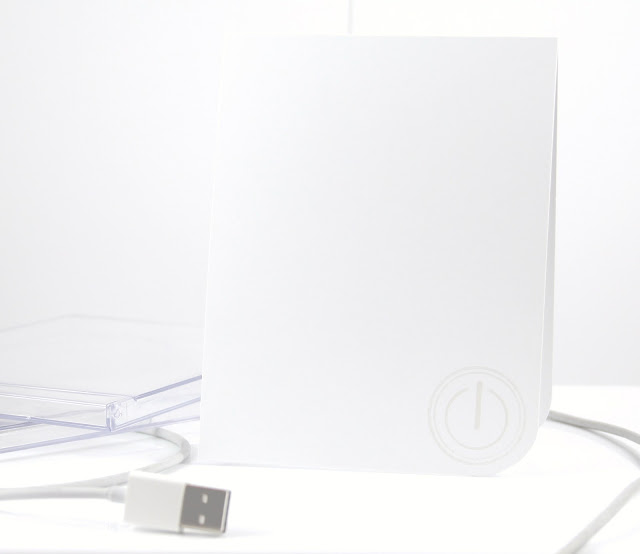
What do you think? Very different for me huh?! But I love it!!!!! I am just so in love with how pure white it all is!! Even the photo makes me happy!!!
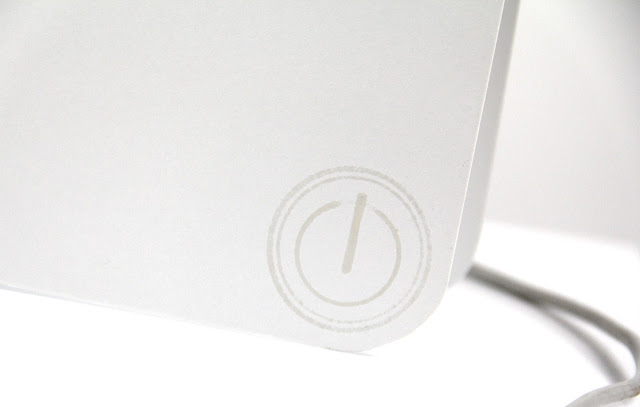
I started with a Stamper’s Select White card base. I then created my own custom power button stamp, stamped it with Versamark ink and embossed it with WOW! Clear Semi Dull Embossing Powder. This powder is clear but gives a finish that is between gloss and matt – perfect for this card!!
Want to know how I created that power button? Well, in another first for me, I present … my first ever photo tutorial!! (I’ve stamped using Smokey Shadow ink for the purposes of this tutorial just so it shows more clearly, but the steps are the same).
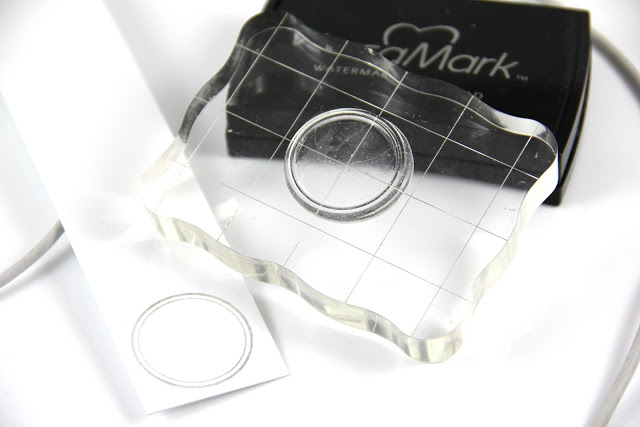
First I started by stamping one of the images from Borders & Corners {Circle}:
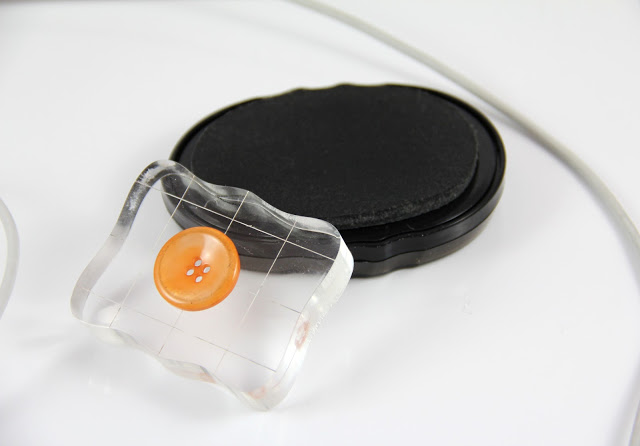
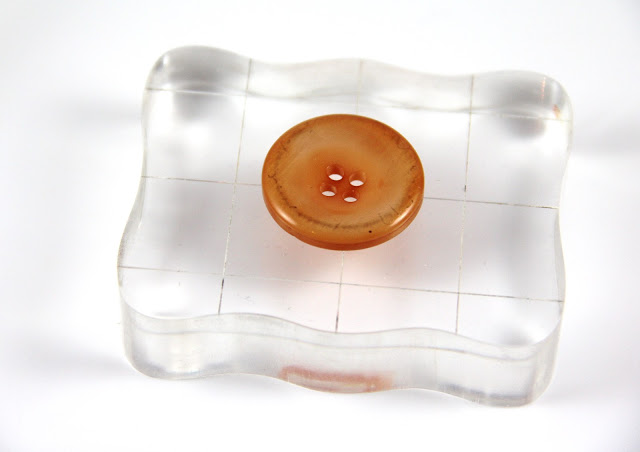
Next I took a button and adhered it to an acrylic block using some Scor-Tape:
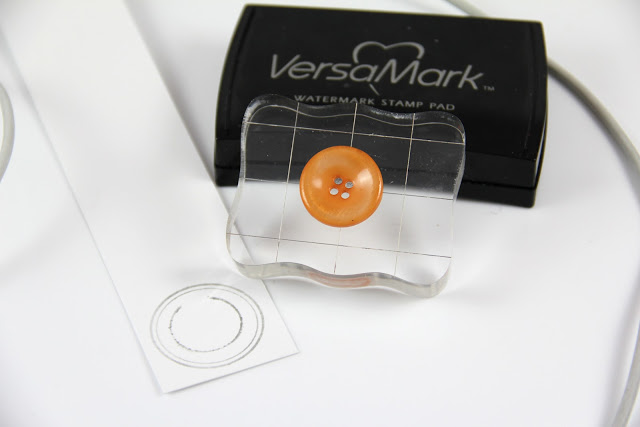
I then inked up the rim of the button, swiping my finger over a little part of it to create a gap:
Before stamping it inside the first image, like so:
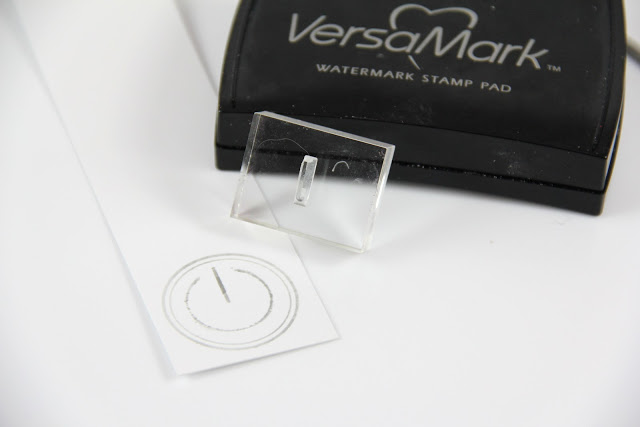
Next I took a simple line image (this one from from a Paper Smooches Boob Tubes set I just purchased) and used that to complete the symbol. I stamped it twice, overlapping part of the image, to make the stamped line longer:
And voila, simple!!
The only other detail on the front of this card is the mega rounded corner. It’s about 1″ and my Corner Chomper just can’t do that! So I improvised by drawing round the edge of a PTI Twine Spool before trimming carefully by hand. Really pleased with how this turned out!!
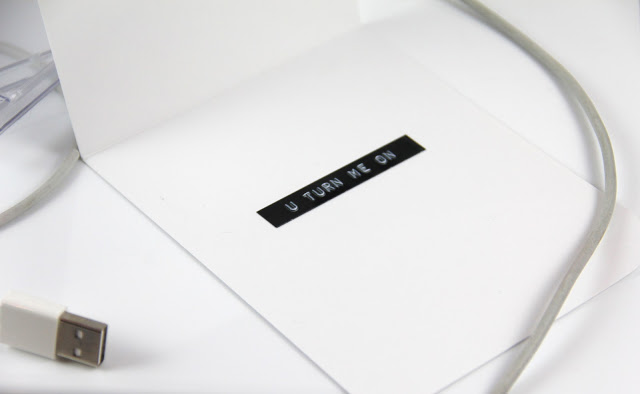
As for the inside? Well, I couldn’t improve on Susan’s original sentiment, but I changed how I did it:
I used a new little embossing label maker that I just purchased to create the sentiment and adhered it into place. I love how this turned out!! Perfect for the theme of the card!!! I’ve been wanting one of these for a while now and can’t wait to try more things with it!
I’d love to hear what you think about this latest creation. I’m so proud of it for so many reasons and would love to know what you think. Thanks so much for stopping by, have a great day!


so cool!!
Super genius card! :> Looking forward to being on the gel a tins team with you!
Lover everything about it. I love CAS, and you have nailed it. How clever to use a button, and your inside sentiment with the label maker is just perfect.
Hee! Well you know that I love this card, right?! I saw the card you mentioned on Susan's blog and thought then that it'd be perfect for my own geeky guy. Now I've seen your genius mind re-create it, I may have to try this out for myself!
Hugs!
Aimes
x
Works perfectly T, a fantastic card & very clever 🙂 x p.s. definitely CAS 😉
Wow – this is truly CAS. So stylish and I love the interior sentiment. Congrats on you DT appointment!!
I love it T! I love CAS cards and this one "turns me on." 🙂 Nice job.
This is a very cool card Taheerah!! I love the crisp white and your power button is genius! Thanks for the tutorial!