Hi everyone! How are you all today? 🙂 Did you enjoy the Uniko Studio Release yesterday? If you’re wanting some goodies I’d grab them quick before they sell out! 🙂
So, I’m sure you’ve all seen the subway art trend that’s been making its way onto cards recently. I’ve seen some stamp sets pop up here and there that have some sentiments designed to fit together to give a subway art effect. They’re cool. I’ve seen a few that group various sentiments together already into one stamp so you get a subway art effect in one go. They’re cool too. Some even have images built into that as well.. They’re even cooler.
But let’s face it – if I’m going to do a subway art card, I’m not going to do it the easy way am I?
Oh no.
This girl likes a challenge.
So, then… what would a subway art card consist of for me? Just how difficult would I make it?
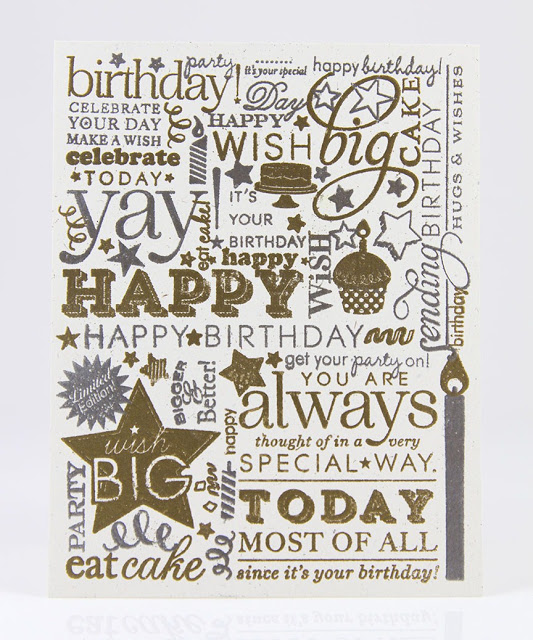
Well… 60 individually stamped images, from I think about 57 different individual stamps. That difficult enough? No? How about some heat embossing thrown into the mix? With two different colours?
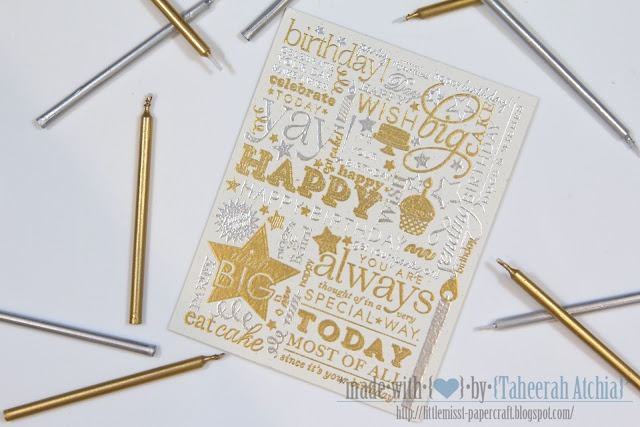
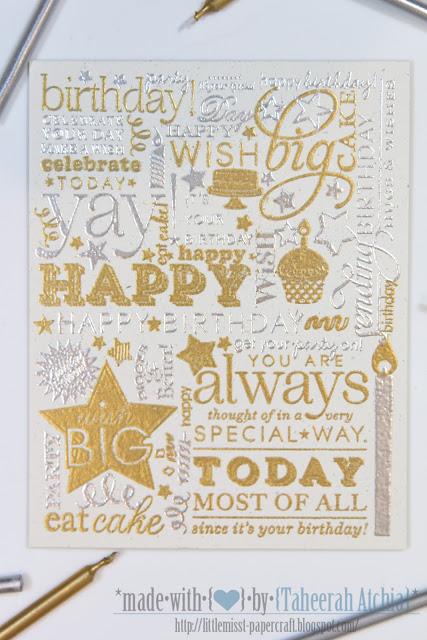
That ought to just about do it:
Okay, to say that I love this card would be an understatement. To say that I’m proud of it would be too. I mean look at it!! Just look at it!!! I did that!!!! Me!!!! I mean, it’s AMAZING!!!!! It’s INCREDIBLE!!!!!
Ahem. Anyway.
I’m not going to go into all the ‘I stamped this here and that there’ kind of step-by-step that I normally do. That would take far too long here and I certainly can’t remember precisely which stamp from which set went where. But I will talk you through my process a bit and how I designed it as I think that would be the most helpful thing. And there is a supply list at the end as always so hopefully that will also help.
So I started by planning the main stamps for my card. I knew it was going to be a birthday theme so I pulled out a bunch of birthday sets and set about working out my positioning. To help with this I had an A2 card base ready and laid out the stamps on top of that to get a rough feel for what I could position where. I knew I wanted different orientations and mixes of sizes and images too, so this took a bit of work.
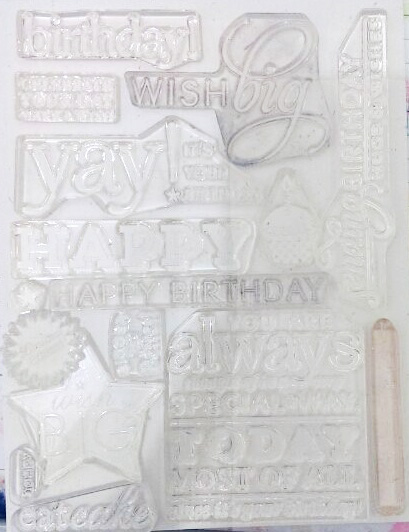
I focused on the positioning of the biggest stamps first and then worked out where I could fit some of the smaller ones. I couldn’t fir every single stamp on when I planned as the backs of the stamps kind of get in the way. But I got a good enough idea to give me a starting point. What I usually do at this point is take a photo on my phone to use as a reference. Here’s what that looked like for this card:
Very busy!
To keep the relative positions as close to the idea as possible I then placed a large block over the card and lifted all the stamps off in one go. I’m not going to stamp all the images at once but this keeps my layout in place and I can then pull off individual stamps and work with them knowing where they would go and which stamps sat next to them.
I built my card a few steps at a time. As I was heat embossing in two colours I had to decide which colours would go where and only stamp a few at a time. I wish I could tell you that I planned in advance which stamps would be gold and which silver, but I kind of just planned it on the fly as I went along! My only rule was that I didn’t want too much of the same colour near each other.
I started in the bottom right corner and filled right to left, then the middle left to right, then the top right to left, a few stamps at a time. I used Versamark ink and obviously that is quite hard to see, so I stamped one or two images at once at most, then coated with embossing powder before stamping a few more, all without heat setting just yet. I alternated embossing powders as I went, so to just fill one ‘row’ took a while.
When I felt like I’d made enough progress (or when I got nervous about messing up, lol) I heat set what I had to ‘save’ it then carried on. I guess a bit like a gamer saves their progress on a level as they go in case they die (ask me how I know… ). What I can tell you is I made this card on the first attempt! Seriously!!
Anyway, Where was I? Ah yes, a little at a time and heat emboss. I continued with this process slowly. As I stamped the images I was able to get them closer together than in my plan, or in some cases just have a bit more space between them. As this occurred I pulled out some smaller stamps to fill in the gaps, and in some cases selectively inked only part of the stamps. I did a bit of this as I went, where it was obvious, and then again at the end, when looking at the final design and spotting where to add extra images. It’s a little easy to go overboard and cram too much in, but I think I managed to get the balance just about right.
One last tip when you do this sort of card. An embossing powder tool is pretty much essential for preventing unwanted stray flecks of embossing powder on your card. I use the EK Success Powder Tool. That and a fine paintbrush (and a steady hand and a LOT of patience!) enabled me to get as close to perfect as possible with my embossing. Not 100% perfect. But close. *wink*
Right, that’s enough of my preaching! 😛 I hope the above explanation was useful rather than patronising! It’s hard to know what is helpful and what is obvious!
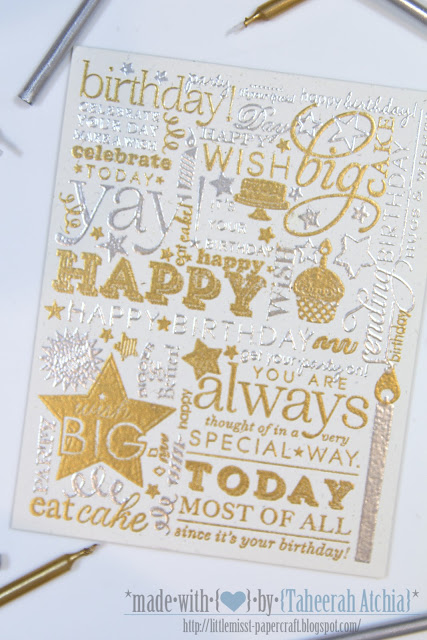
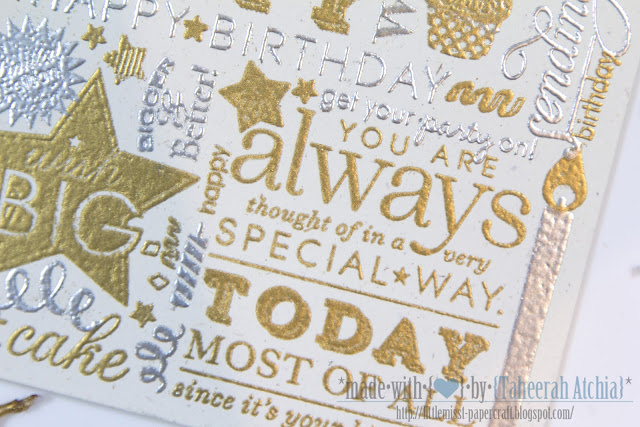
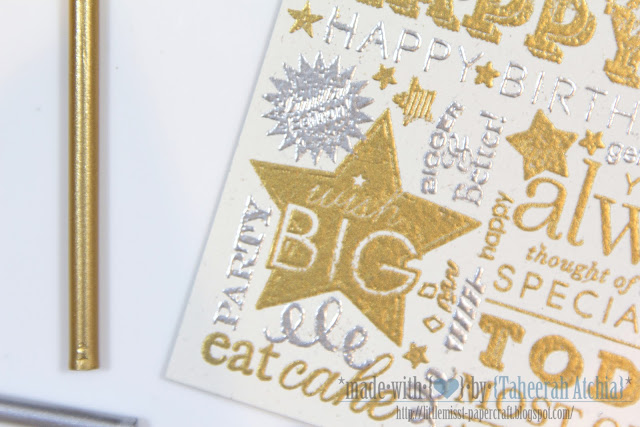
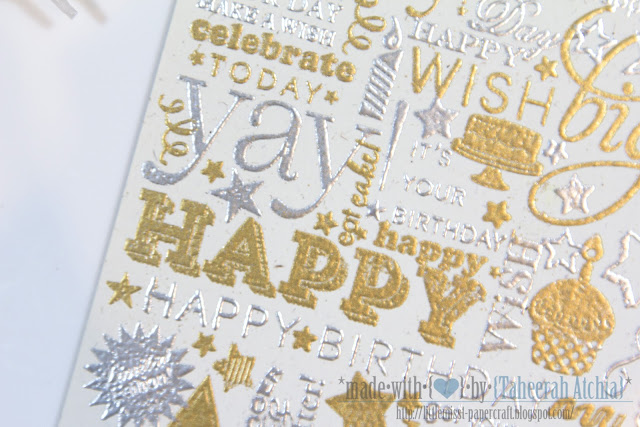
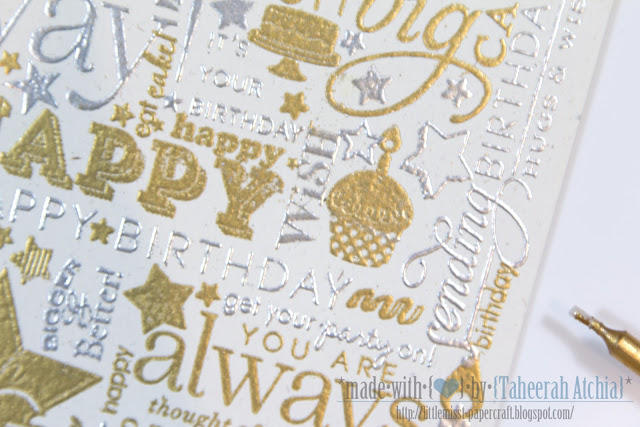
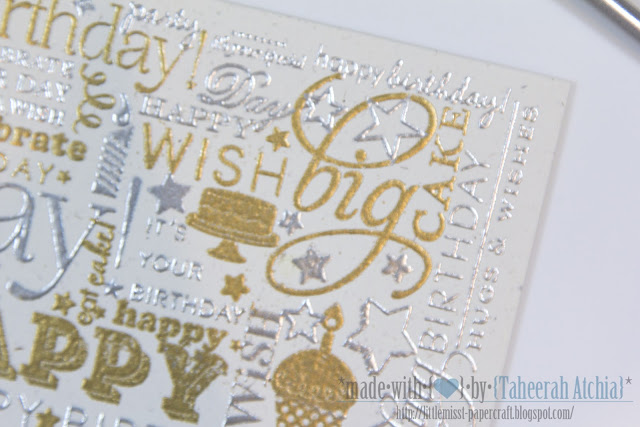
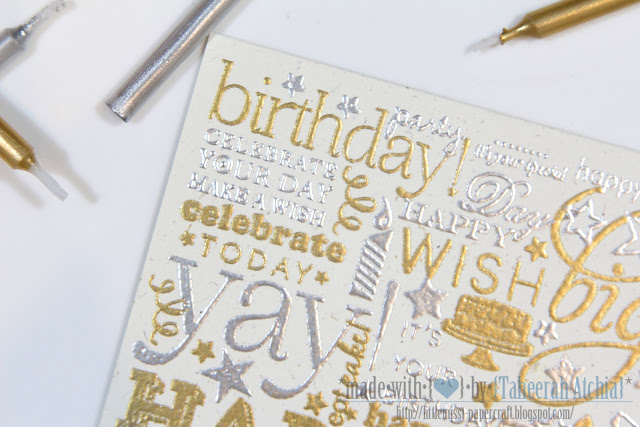
Oh, and I know the detail is a little hard to make out in these photos because of the lighting and focus, so here is another shot that hopefully makes it clearer:
Anyway, I would so *love* to hear what you think of this card!! I am so very proud of it and really hope it is appreciated by more than just me, lol! Please do leave some love, and if you have any questions I would be more than happy to answer them! Thanks so much for stopping by, I hope to see you again soon!
Supplies:


Your card is gorgeous! I'm totally seeing my own attempt at such a card in my very near future! Thanks for the inspiration!
And I too would like to know what those gold and silver sticks are in your photos, please!
Wow! That is amazing. I think I would keep a card like that forever. I'm not sure anyone would ever be able to appreciate it as much as I do.
Wow! Great work, Taheerah!
Oh, wow, this is amazing!
Freakin' fantastic! I don't normally go for the gold trend, but this is stunning!
Just amazing, T! Such a fun and vibrant card. I would *never* have the patience for all that embossing! lol
WOWOWOWOW! This is amazing! I love it– love the design and that you had that many stamps that matched for this theme! FAB JOB!!!
Can you tell me what those pencils/sticks are in the pics? I've never seen embossing powder like that– or maybe they are just props?
LOVE the card! <3
Wow!! I am seriously in awe!!! You have made the perfect balance between silver and gold, and I find it Amazing given how you did it on the go! Thumbs up for no stray embossing powder and beautiful stamping!! I am SURE I would have messed it up!
THUD! Totally gorgeous, and truly a labor of love. AMAZING!
You did good! This is incredible 🙂 x
very cool!
Wow! That is awesome! So totally worth the effort. Thanks for sharing how you did it!
Wow, Taheerah! That is all. Just WOW!
Incredible card! Stamping, embossing, graph coloring, "saving" your work and awesomeness all-in-one! Great work!!
Awesomesauce! Simply fabulous. 🙂
Wow! Awesome card! 'Subway art' is a new concept to me, but let me tell you I'm pretty impressed with the result. TFS
It is amazing Taheerah!!! LOVE itttt!!!
Beautiful, Taheerah!! I love love all the embossing! The placement of the sentiment itself is amazing! Way to rock those embossing powder/subway art!
yep..you out-done yourself!
Best subway art I've seen in a LOOONG time:)
wow! absolutely amazing, Taheerah!! love it!
AWESOME Card! Yes, I did just yell that. Overlapping sentiments like that is something I love, but this just rocks the whole concept out of the park. Thanks for the tips, too. 😉
Love it! Turned out fabulous!
Just AMAZING!!!
Amazing!
Pick me up off the floor! This is jaw dropping AMAZING!! WOW! You're SO talented & LOVE the way you think 🙂
holy speechlessness. how you got that all arranged so perfectly is beyond me!
SHUT UP! How awesome is this? I am seriously in awe. I know my paintbrush has been invaluable…I would have been heat-setting after every stamp! Absolutely unbelievably AMAZING and super trendy to boot 😀
This is so super cute! I love it!
Holy guacamole! What an awesome card! Totally worth the patience with the fine paintbrush! ;D
Hugs!
x
This turned out awesome, T! What a labor of love. So many stamps and patience. The recipient is one lucky person. 🙂
Seriously amazing. The gold and silver embossing would have driven me mad. I love that you used so many stamps. Clearly a labor of love and well worth it!
WOW!!! Ahhhhhh-MAZING!!!! You know how they say somethings are priceless…THIS is one of those type of cards! It's pure awesome! I am in awe! I almost want to attempt my own because I am so inspired…but I am also VERY afraid! lol! You rocked it! You should frame it and hang it up!
this is just marvellous…grt work done…
Yeah, I'm lost for words too… this is incredible! So much patience needed to make this card, I can't imagine doing it myself. The effect is breathtaking! I'm sure this one's a keeper, right? 🙂
MWAH xx
I have no words! Well, just one: WOW!!! JUST WOW!!!