Hi everyone! Happy Monday!
You may or may not remember me. I’m Taheerah, and I used to post cards on this blog.
This may have escaped your memory as I haven’t posted anything in bloody ages.
Please forgive me for that. In my defence, I had a good reason. I’ve been working abroad on a weekly basis for the past two and a half months or so. Whilst I’ve been able to still make cards for DT requirements, everything else seemed to fall by the wayside a bit as my schedule (and energy levels) were pretty disrupted.
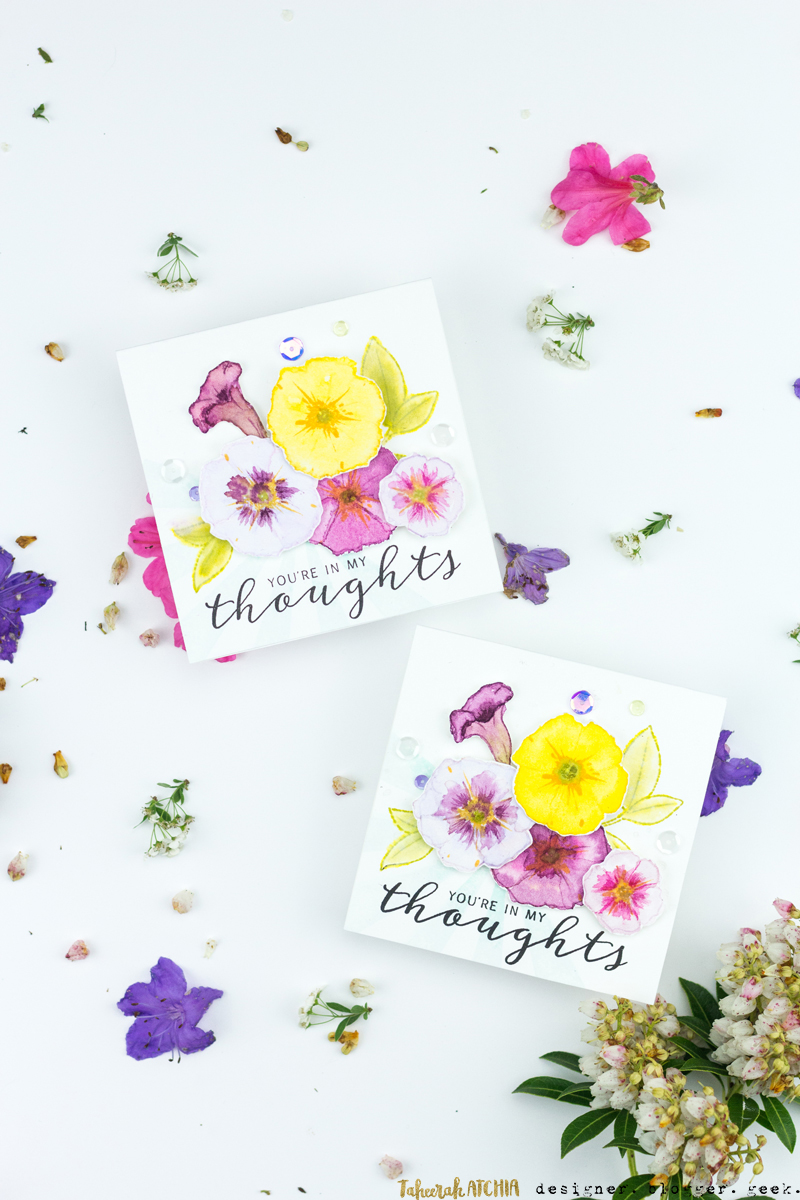
I’m back home now and eager to get back to a more regular blogging schedule – starting with this baby created all the way back in April (April!) as a part of a Guest Design post I did for WPlus9!
I’ve got a video for you showing exactly what I did. Watch below or check out the HD version on YouTube:
I was so excited to put the Modern Petunias and Petunia Builder sets to use – together! – for a couple of cards that showcase a basic watercolour technique that is sure to have you reaching for your brushes!
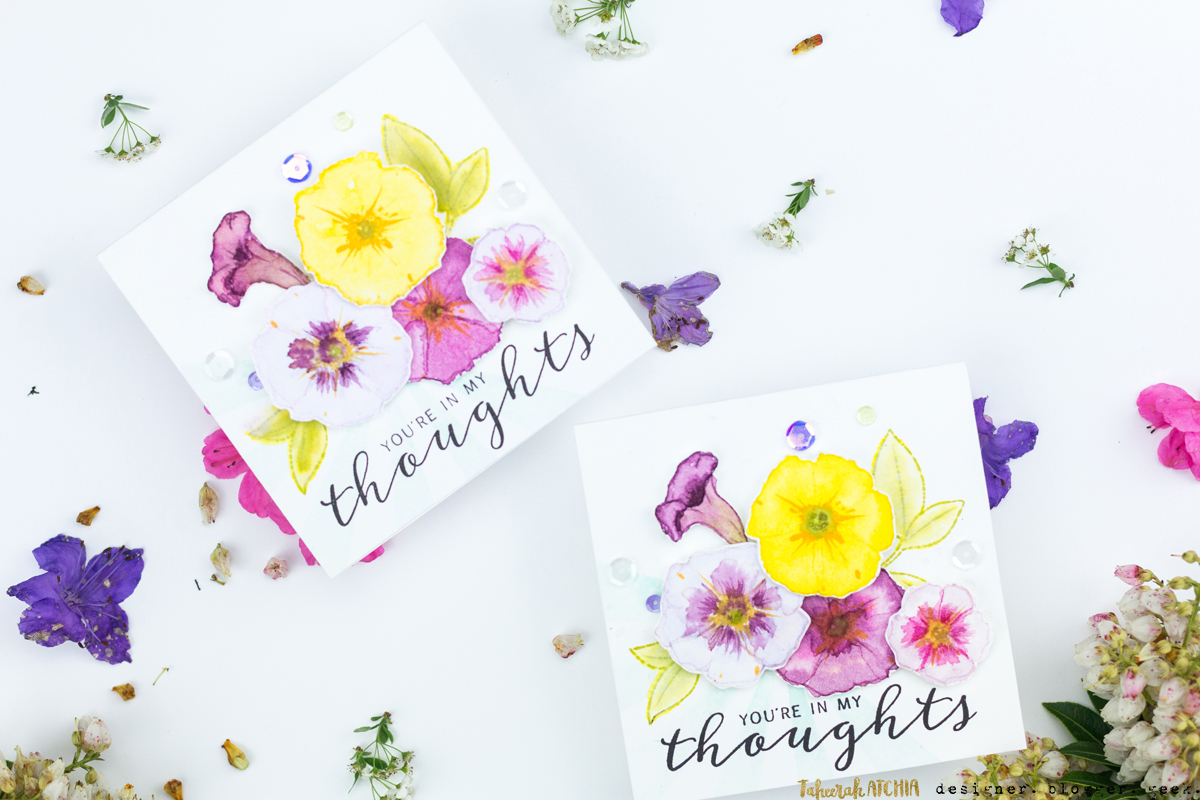
I started by stamping the outline petunias using Distress Inks. With an almost-no-line technique in mind, I chose ink colours that were in line with the base colours that the flowers would be, then used clean clear water to ‘pull’ colour from the outlines to create a first wash of colour! I watercoloured the petals individually, drying in between, so they could keep their details and definition.
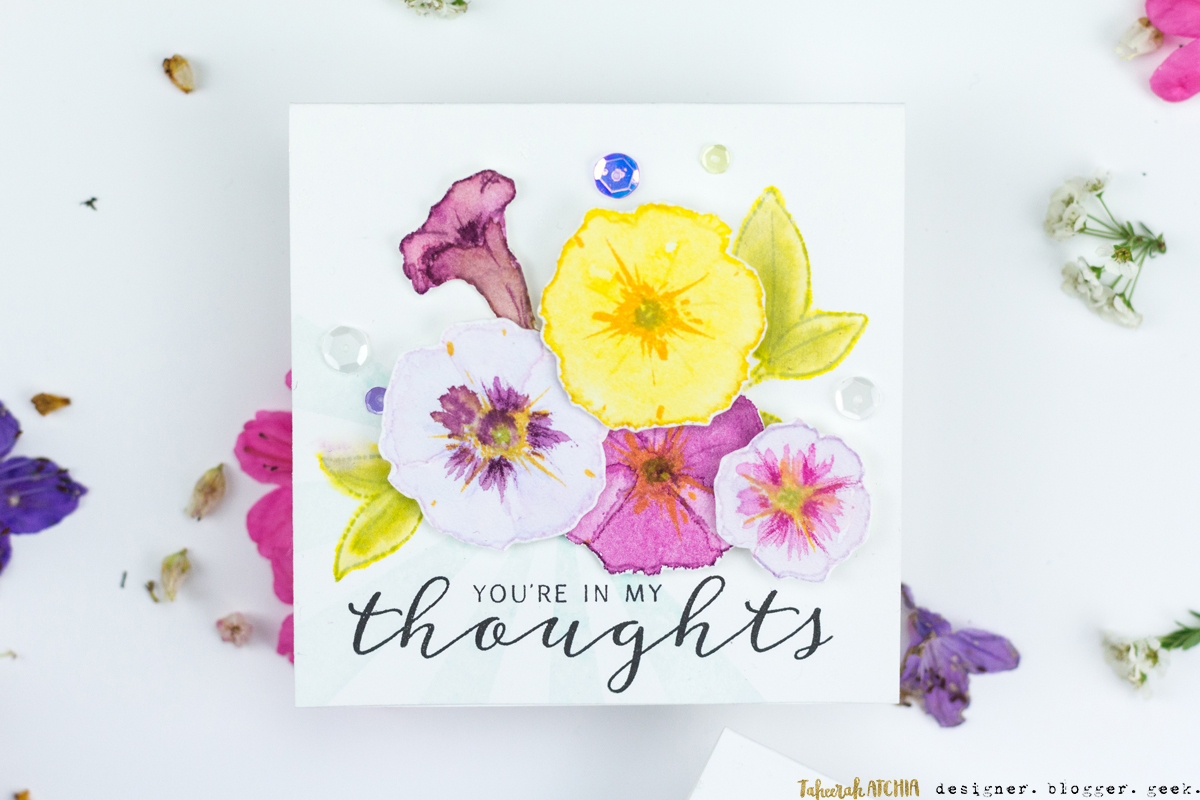
Once my watercolouring was done, I took the solid centre images from Petunia Builder and stamped them with Wild Mango ink. Just that one stamp adds so much depth to the image! I decided not to stop there though, and added some further details, before fussy cutting out my images ready to use on my card!
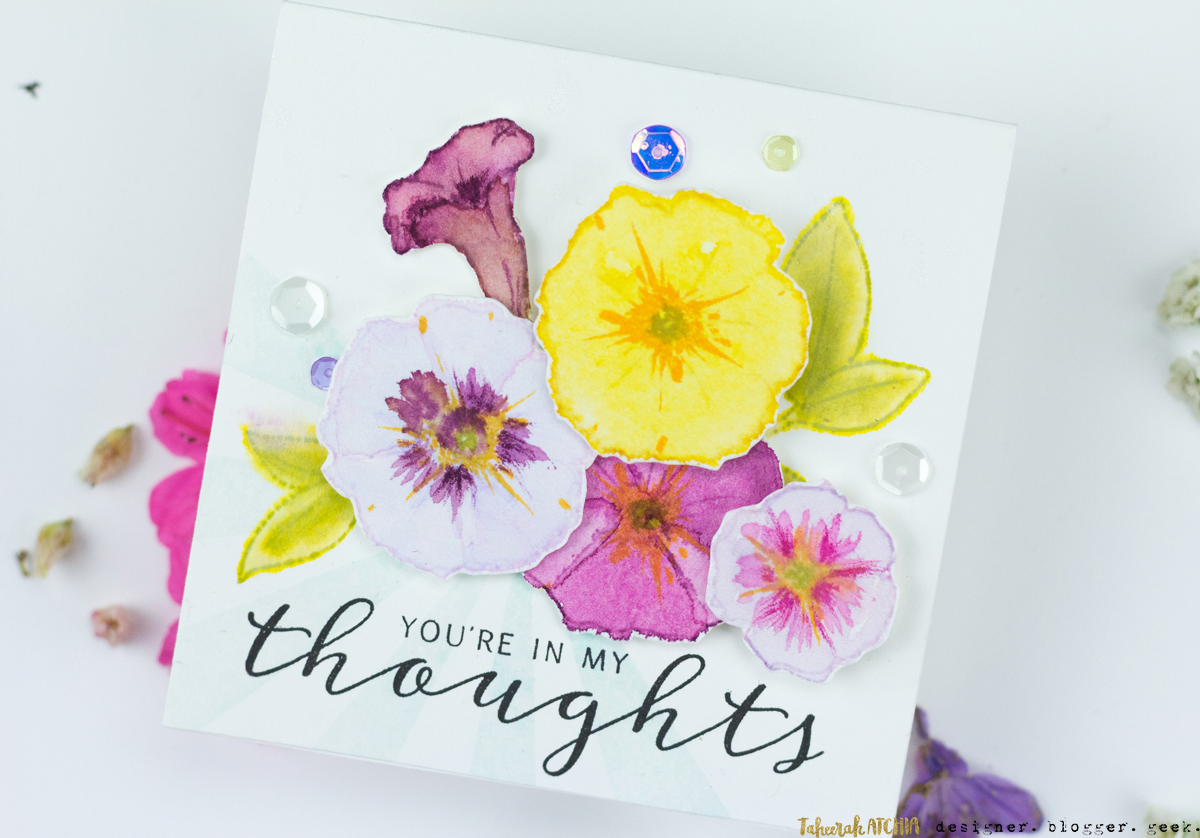
I stamped my card base with the awesome Big Top Background – a really basic staple that every stamper needs! I stamped once with Fairy Dust ink, then a second time with Sea Breeze ink (stamped off once) for some extra definition. The MISTI makes techniques like this so easy!
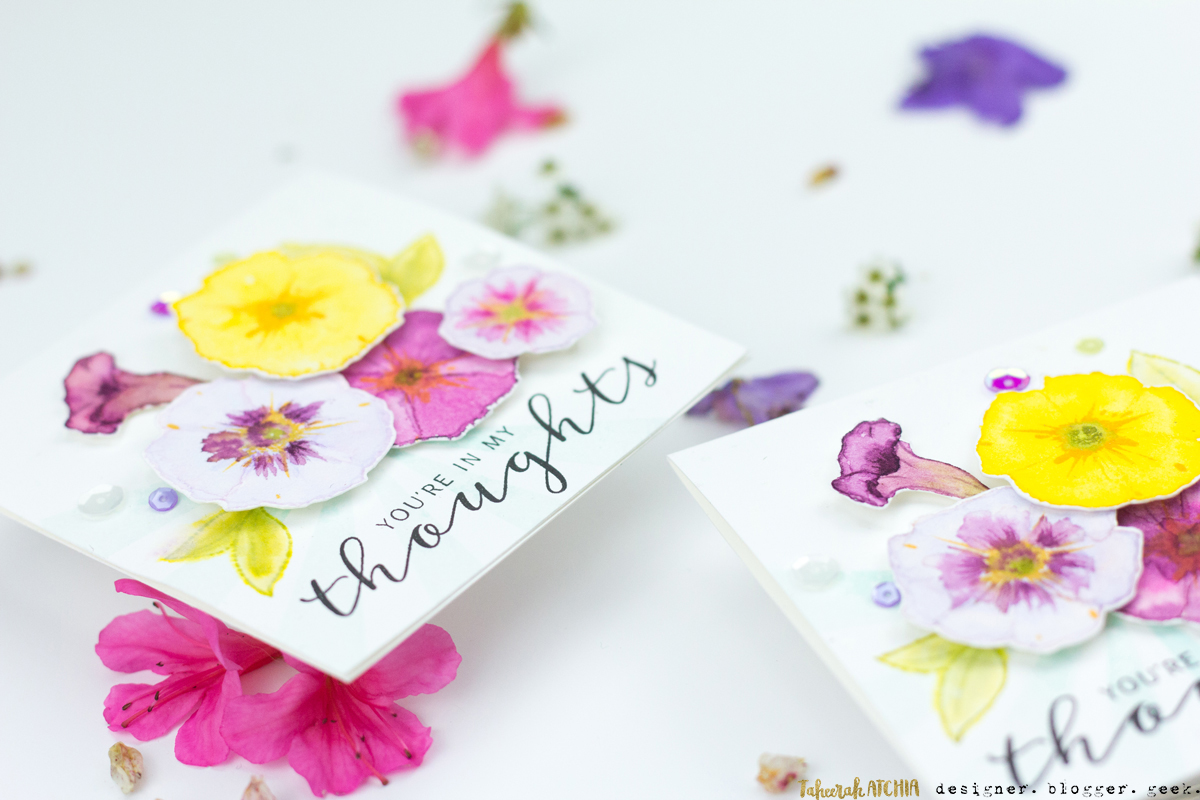
I added a sentiment and some leaves from Modern Petunias, adding a light watercolour wash to the leaves, before splattering the background for some subtle shimmer. All that was left was to adhere my flowers in place with dimensional adhesive and add a sprinkling of sequins and I was all done!
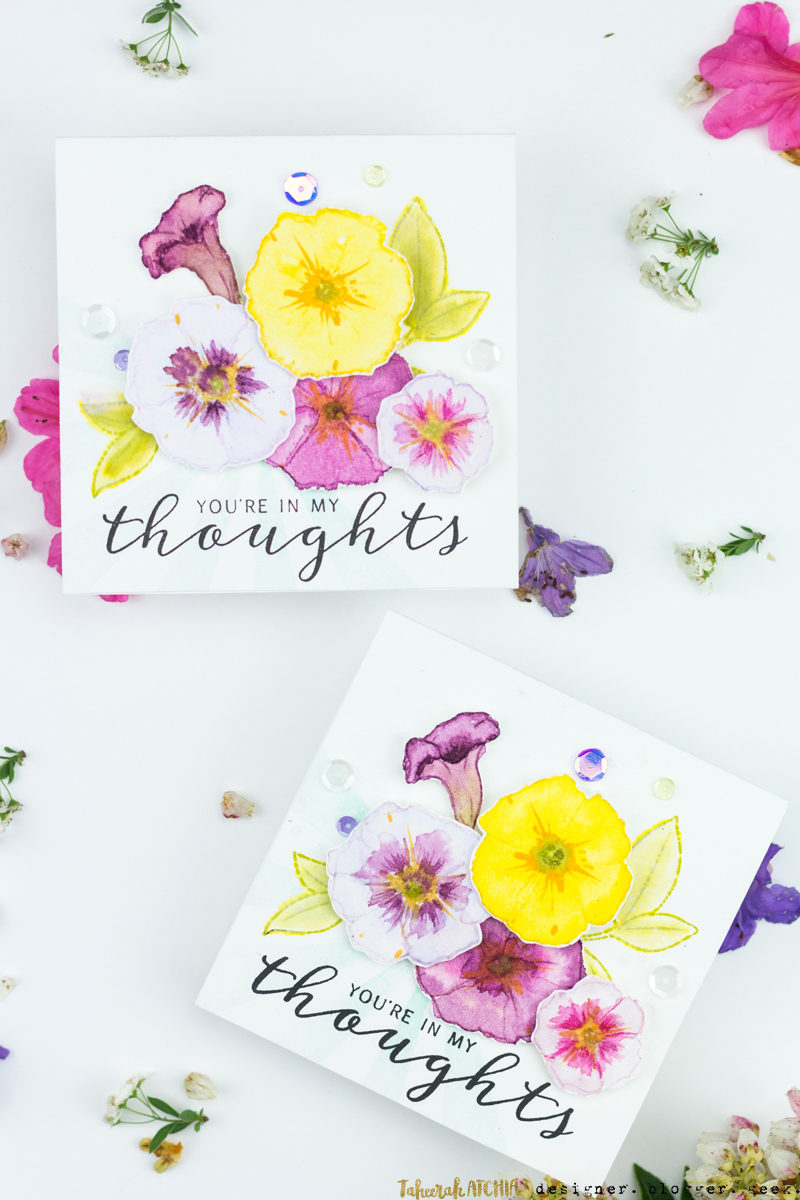
I hope you’ve loved what you’ve seen here today, hopefully I’ve shown you that you don’t have to be a watercolour pro to make the most of these beautiful designs! My eternal thanks to Dawn for giving me a chance to guest for WPlus9 – it really was a dream come true!
If you’d like to check out the original guest post you can find it here. Please head over and leave some (belated!) love!
Thanks for stopping by!
Supplies


Just lovely, Taheerah … your watercolour detailing is fabulous! Anita 🙂
Such a great job on your water colouring and thanks for the tips. I am a newbie at wc and I have to learn all of these tricks! Glad you are back and all is well with you, now I’ll be looking forward to seeing more!
Gorgeous card! I’ll leave a comment on the original guest post too!
Really gorgeous!
Welcome back! Been
wondering what was
up. Lovely coloring
on the flowers.
Carla from Utah