Hello everybody! And welcome to Day 18 of Advent Calendar Extravaganza!!
In case you missed Day 17, click here!
In case you missed Day 16, click here!
In case you missed Day 15, click here!
In case you missed Day 14, click here!
In case you missed Day 13, click here!
In case you missed Day 12, click here!
In case you missed Day 11, click here!
In case you missed Day 10, click here!
In case you missed Day 9, click here!
In case you missed Day 8, click here!
In case you missed Day 7, click here!
In case you missed Day 6, click here!
In case you missed Day 5, click here!
In case you missed Day 4, click here!
In case you missed Day 3, click here!
In case you missed Day 2, click here!
In case you missed Day 1, click here!
I’ve always loved the concept of Advent Calendars. There’s something special and magical about those little treats hidden behind those little doors – and the idea of a secret little something to be unwrapped every day really is a wonderful way to build the excitement towards Christmas, not to mention a fun tradition as well!
As the years roll by some of these types of tradition can be lost when we grow up, and it seems a real shame to lose some of that magic and wonder. And really there’s no reason at all why something such as an Advent Calendar can’t be revamped and repackaged for grown-ups, crafty grown-ups… grown-ups like you and me!
So one day in November last year I dreamed up a fun idea for a event. I didn’t know if it would work, or if anyone would be interested. I approached some crafty friends, and others recruited themselves – everyone loved the idea! Behind the scenes I worked hard to put together something rather different and very special. After much organising, coordinating and planning, I’m really thrilled to finally bring to you a very special, very fun, very festive series! It was *hugely* popular, and so, by popular demand, I just had to bring it back again this year!
Eek! How fun does that sound?! 25 full days of surprises, inspiration and prizes!!
In case you’re wondering just how it’s going to work, here’s last year’s video (I’m afraid my filmmaker friend was unavailable to help in time for this year!) to explain it:
I’m so excited to be bringing you this event! I really hope you’re going to enjoy it as much as I am!!
Let’s get on with Day 18, shall we?!
I’ve got some of my very favourite designers lined up today to continue the fun! Just click on the door to reveal today’s surprise destinations and prize! Tip: you will need to do this from the blog itself, not from a feed reader or e-mail!
The door is a bit different this year (curse of moving over to WordPress!). So, now you’ve opened it, please use the image below to find your secret links! As you see, there aren’t any text links, but tap or click on all the decorations/presents in the image below and you will find your secret destinations! *wink*
Exciting right?! Isn’t it fun to not know what’s in store at the other end of those links?! Make sure you click each one to reveal the surprise and leave comments at the destinations to win!
And speaking of winning…
Today’s sponsor is Honey Bee Stamps! A new-to-me company this year, I quickly fell in love with their mix of cute images and clever scripty sets! I’m so thrilled to have them sponsor the event this year!
Honey Bee Stamps are generously sponsoring a $25 gift certificate to their store! With an amazing array of products you’re really going to be spoilt for choice spending it!
Now that you know what you can win, I’m sure you’re eager to head off to all those secret destinations to check them out! But before you go, some inspiration from me:
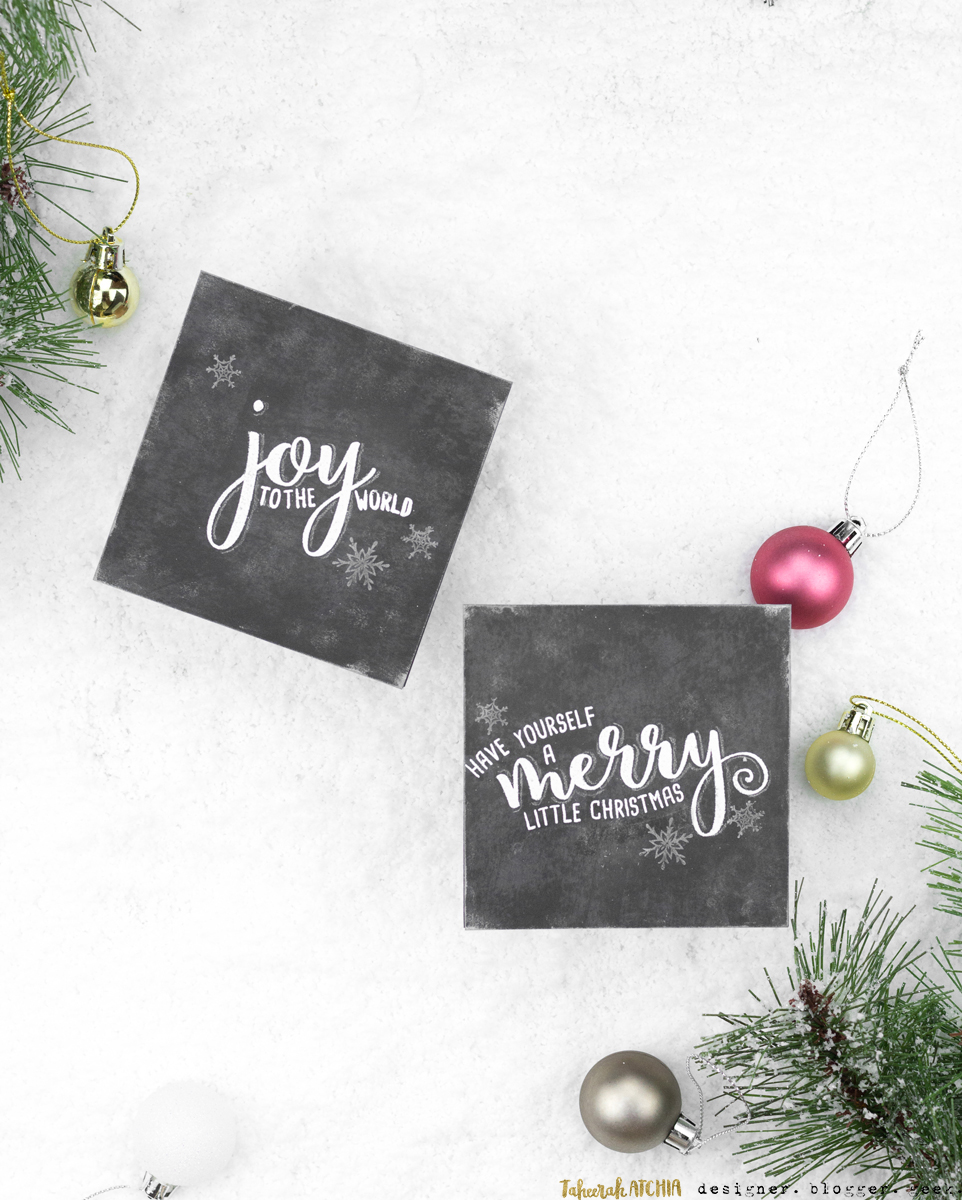
I wanted to create something classy with the wonderful handlettered-style words from the Merry And Joy stamp set, so I went with a chalkboard design!
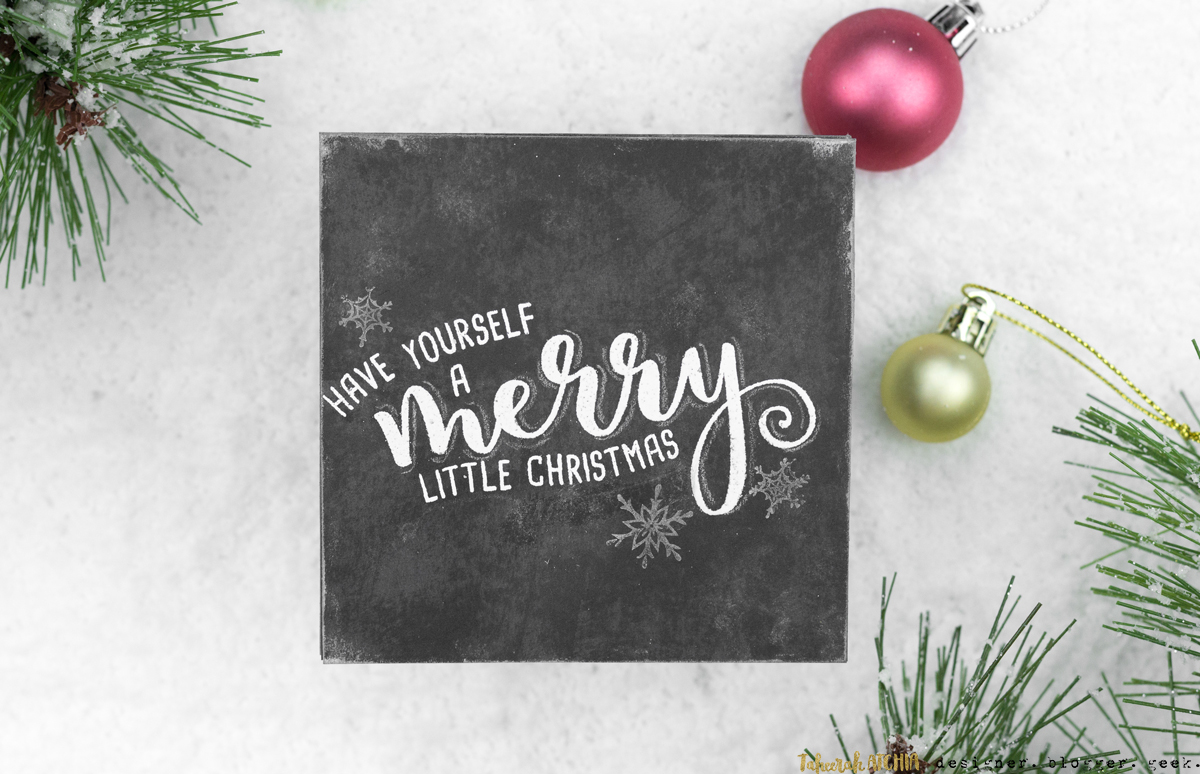
The great thing about these sentiments is that the first part of the word merry (the ‘merr’) part, is separate from other ends of the word (such as the ‘y’ to spell ‘merry’, or ‘ily’ to spell ‘merrily’ – clever huh?!). A similar thing exists for the ‘Joy’ word, but I only used the ‘Joy’ part here. 🙂
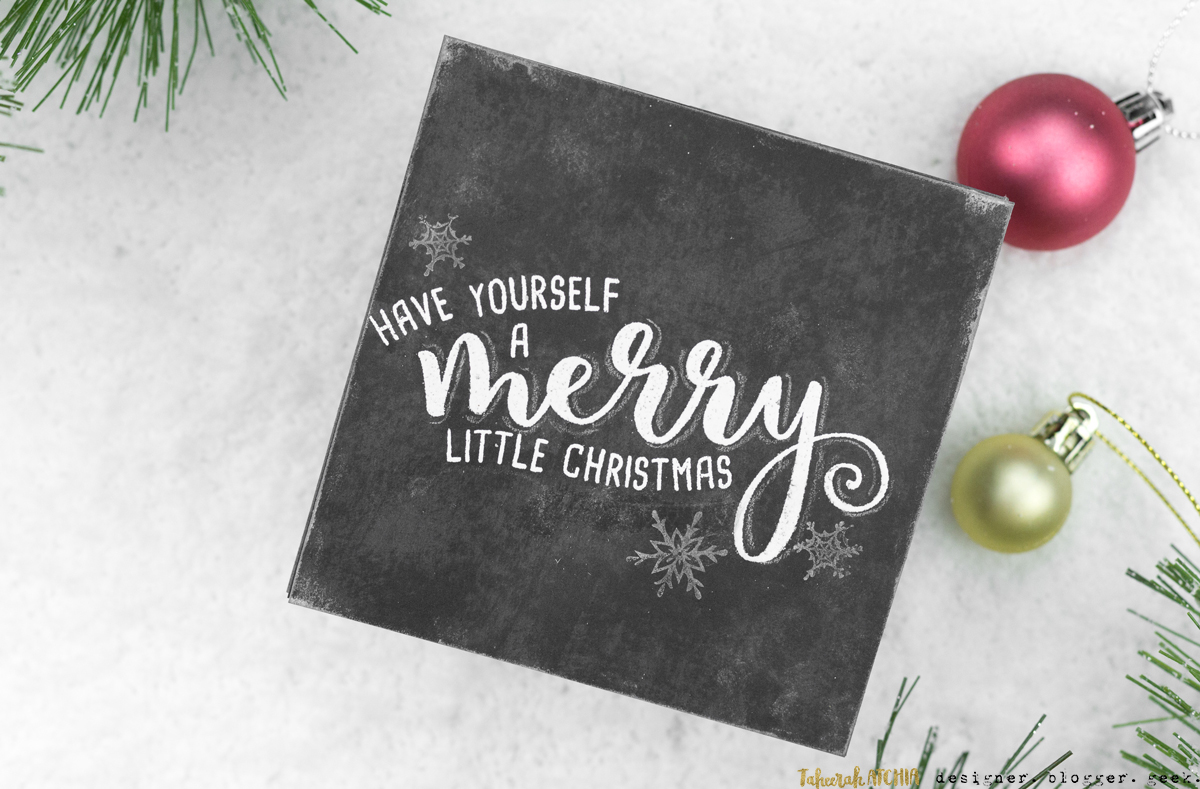
I used the snowflakes from the More Flakey Friends stamp set to add some fun accents without making the design too busy!
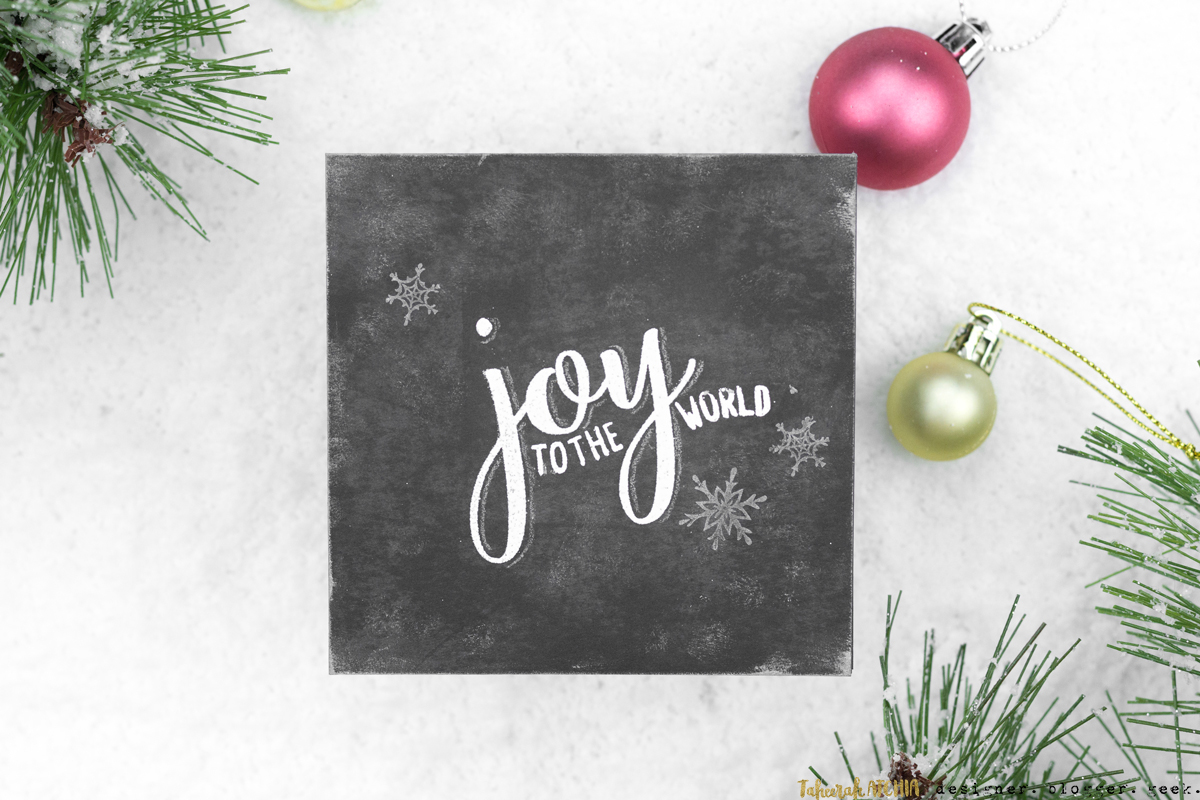
So, I thought I’d give you a few of my personal tips for this kind of technique! The first is that I actually use a dark grey cardstock (rather than a black one), and then I randomly swipe the Hero Arts Blackboard ink over it. It creates a greater depth to the background and gives the impression of a chalk-wiped surface without having to wipe white ink or chalk all over it!
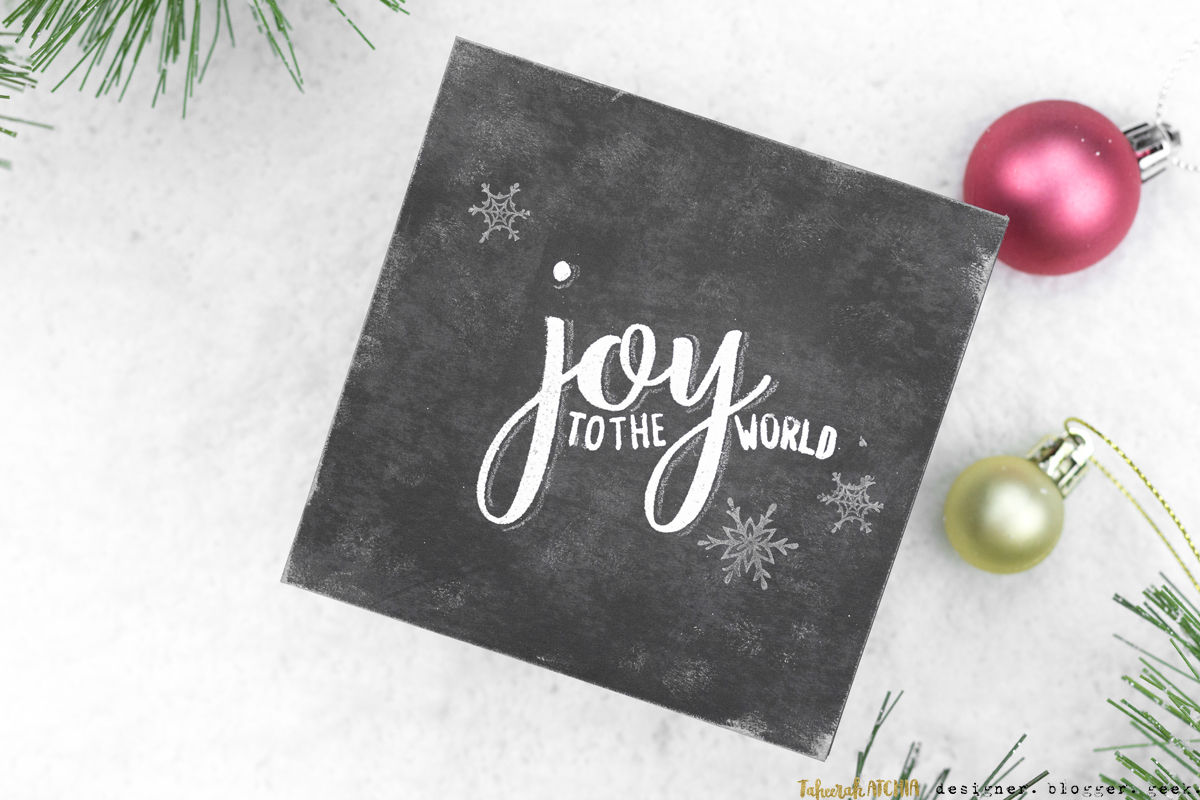
I use an EK Success powder tool all over the cardstock before I stamp and heat emboss my sentiments, to minimise any stray embossing powder flecks. I use a white pencil to add some shadowing effects, and swipe some white ink on the edges of the cardstock then rub it with my finger to give the chalky edges. And my favourite tip? A soft fluffy paintbrush, lightly tapped into my white inkpad, and then light stippled onto the cardstock. Perfect chalk dust look! 🙂
Don’t forget Advent Calendar Extravaganza runs from 1st-25th December inclusive so make sure you visit taheerah-atchia.com every day for fabulous inspiration and amazing prizes every single time! Merry Christmas!
I hope you love this event just as much as I do! I would love to know what you think of Advent Calendar Extravaganza! Do you love the format? The secret destinations? The endless inspiration? I bet you certainly love the chance to win prizes! Please make sure you leave a comment below! Thanks so much for stopping by – I’ll see you back here tomorrow!
Supplies


Love, love, LOVE these! The chalkboard look is always so fun. A great job on both Taheerah!
love the chalkboard!! this is so fun to see what each day holds!
I love the color of the card. And of course, with your embossing, the result is gorgeous and so elegant, really great.
These chalkboard cards are very pretty! Thanks for the Advent calendar!!
Wow! I love the chalkboard look of your creations.
Really like how Honeybee stamps do their word sets. Mar=keys them so versatile. Love the chalkboard effect. Thanks again for sponsoring the advent calendar!
Both cards are fantastic. thanks for the tip about stippling the white ink with a paint brush!
Lovely card. I love snowflakes
Chalk and stamps are brought together for a wonderful effect. Kind of a more modern Christmas feeling.
Wonderful chalkboard design card. Thanks for the tip about the stippling with a stiff brush – will keep that in mind!
Awesome cards! Love the font and the chalkboard look! The Merry and Joy stamp set is fabulous… on my wish list!
I love the chalkboard look!
The grey cardstock to start with is the best tip on this I think. Starting with black is just too dark and too much work. What an amazing result! Love it.
Love your chalkboard
look cards, great design.
Carla from Utah
Love your cards! I have that sentiment set so now I need the blackboard ink! Thanks so much for including all the steps on how you created your great designs!
Fun cards! Love the chalkboard look! Thank you for the inspiration!
Love the chalkboard look. Your cards are cute.
Thanks for sharing how you made the card.
Super cards! That stamp set is really special, and so are you!
Really nice cards and OH, MY – what a clever stamp set!!
Love both of your chalk board cards! They look lovely!
Fantastic cards!Love the chalkboard effect!
Loving your 2 chalk cards and loving your advent calendar
HoneyBee is new to me, too. But I’ve been seeing a bunch of cute stuff from them. Glad they’re part of the AC!
lovely cards. You have used the chalk board technique to perfection. Thanks for sharing:)
Great cards! I like the chalkboard look, with its “Chalkdusty” look. It’s kind of fun to play with,. I tried it with black cardstock, but I just hated “messing up” my pristine black! I want to try some of that embossing powder. I don’t have a bright white. and this one looks like it’s THE one! Thanks so much.
These are so cool, they totally look like a real chalkboard.
Wonderful card, and fantastic extravaganza.
Such beautiful cards – you’ve shown off the stamps so well!
Love the chalkboard look!
Awesome chalkboard like cards, so beautiful and thanks for all the tips to get this look! Love this event, look forward to my daily surprises, thanks for all you do.
I have really been enjoying this Advent Calendar Extravaganza! Love these scripty sentimentss combined with block letters.
Great sentiments!
Awesome chalkboard technique!!!
Those are classy and nice! Love the chalkboard look you created. Thanks for sharing!
I am not a fan of chalkboard for Christmas–just doesn’t put me in the spirit! Otherwise, the technique is great.
The chalkboard look is perfect. Thanks for the tip on how to achieve it.
Your chalk board design really gives the feeling of a snowy night.
This is a unique look.I love the look of blackboard.Well done
Love your cards Taheerah! The chalkboard look is one of my favorite trends.
I must try this chalkboard technique!!! Just WOW!!!!
I really like the chalk board look you created with these cards.
Love the chalk look, Taheerah! Great & fun projects.
Very pretty card and such a nice stamp.
I am totally enjoying the Advent extravaganza. I have been introduced to so many new companies with amazing products. I will definitely be trying many of the techniques I have been learning.
Love these CAS chalkboard Christmas cards! Thanks for the inspiration again. 😀
Wonderful chalkboard design!!! Love these!
I love chalknoard designs and would love a video of your technique. Thanks for the tips.
Love your chalkboard background! Using the dark grey card is a great tip & the effect is fabulous. Love the pencil shadowing too.
Love the chalk dust extra. The possibilities are endless with a look like this.
I have never tried the chalkboard technique. I really like your card. Thanks for all the tips.