Hey everyone!
Welcome back!! I’m so excited to bring you today’s post!
This week there’s a very special feature happening over at the Winnie & Walter blog as the dies from the January Release are given a showcase all their own!! And I am more than thrilled and delighted that Julie & Shay invited me back to participate!
The January Release was CHOCK FULL of *amazing* dies!! Wait ’til you see what everyone’s done with them!
Today I’m helping to showcase Goldie Trim Cutaways and Lulu Fringe Cutaway!! Fringe is *so* in at the moment, and the fringe die from Winnie & Walter is probably the most versatile and fun version of this type of die I’ve seen! And the trims from Goldie are so fun and versatile and make such great embellishments for your projects!
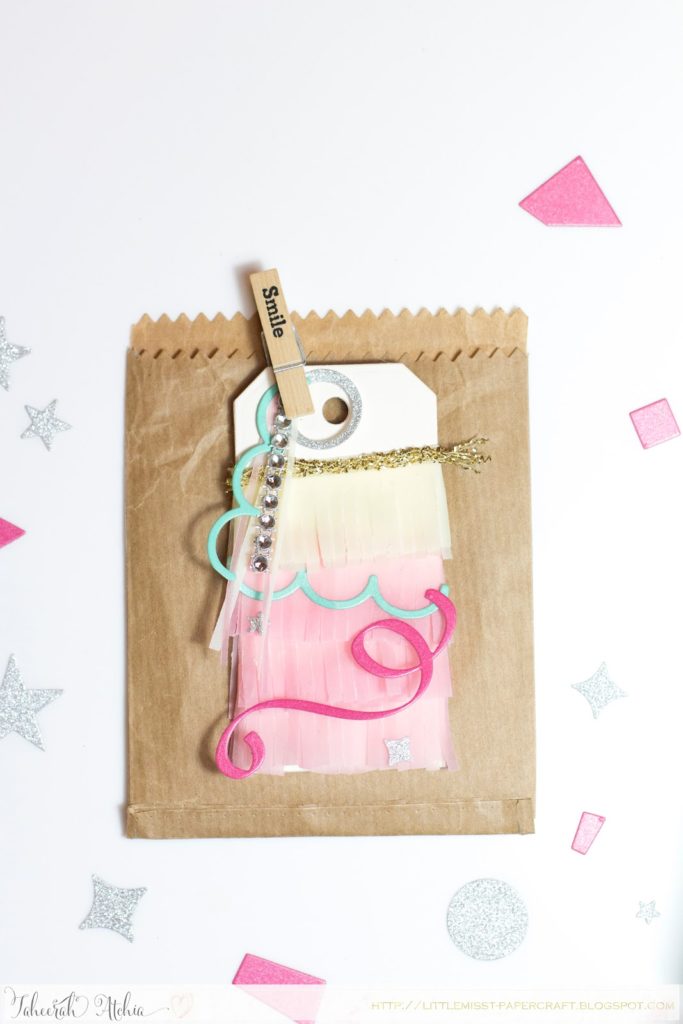
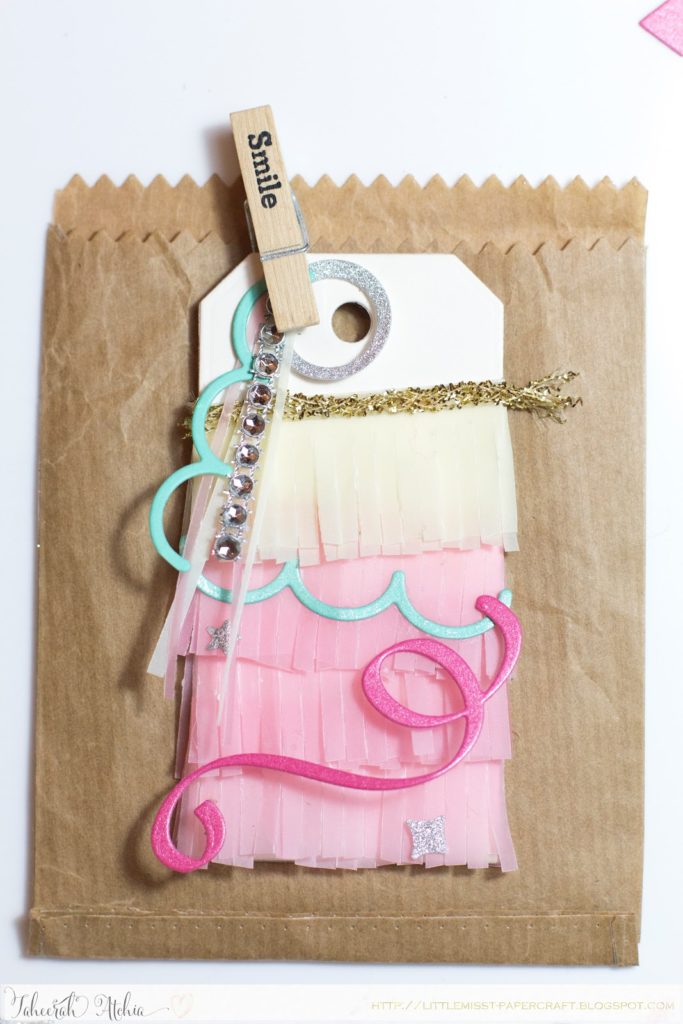
Here’s what I came up with:
I can’t lie. I love this project so much it’s probably unhealthy. I mean, just look at it!!
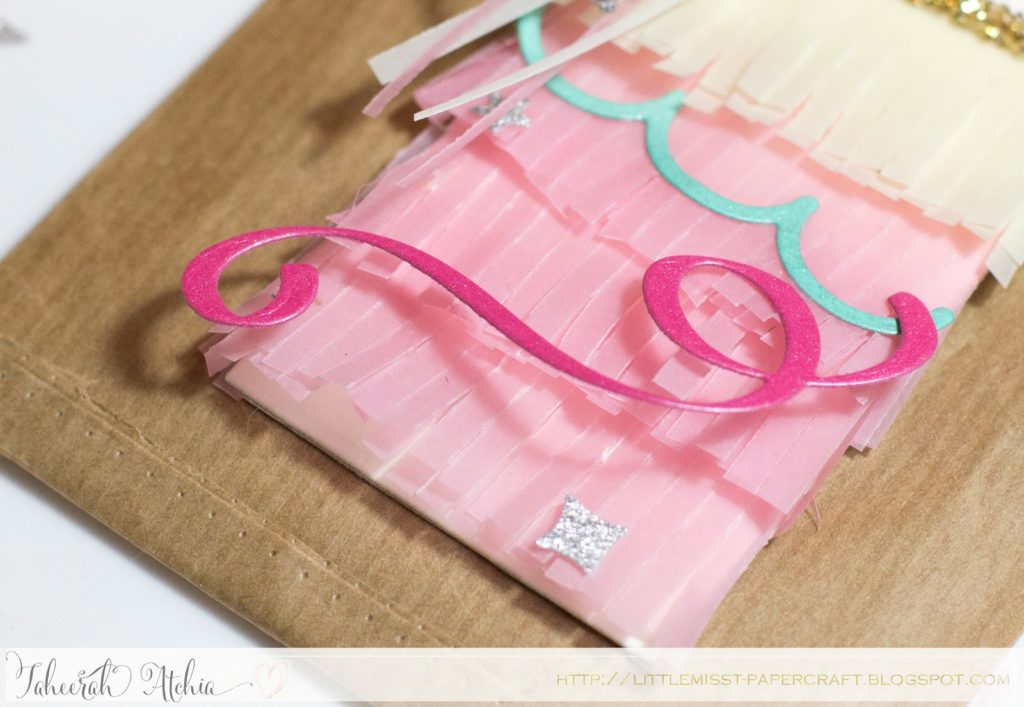
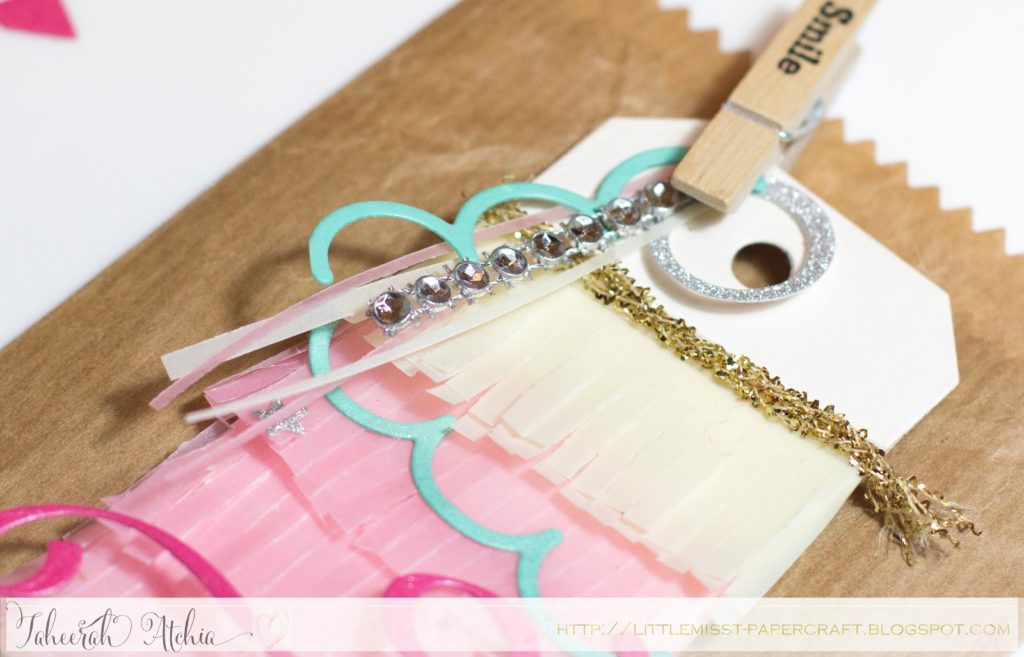
I started by die cutting the fringe trim several times from some pastel vellum from my stash using the Lulu Fringe Cutaway. The die is open-ended so you can make fringe as long as you want!! I used some thin Scor-Tape on one of the long edges and folded the other edge over to adhere them together, then used my scissors to trim the fringe loops in half. Instant double fringe trim per piece!!
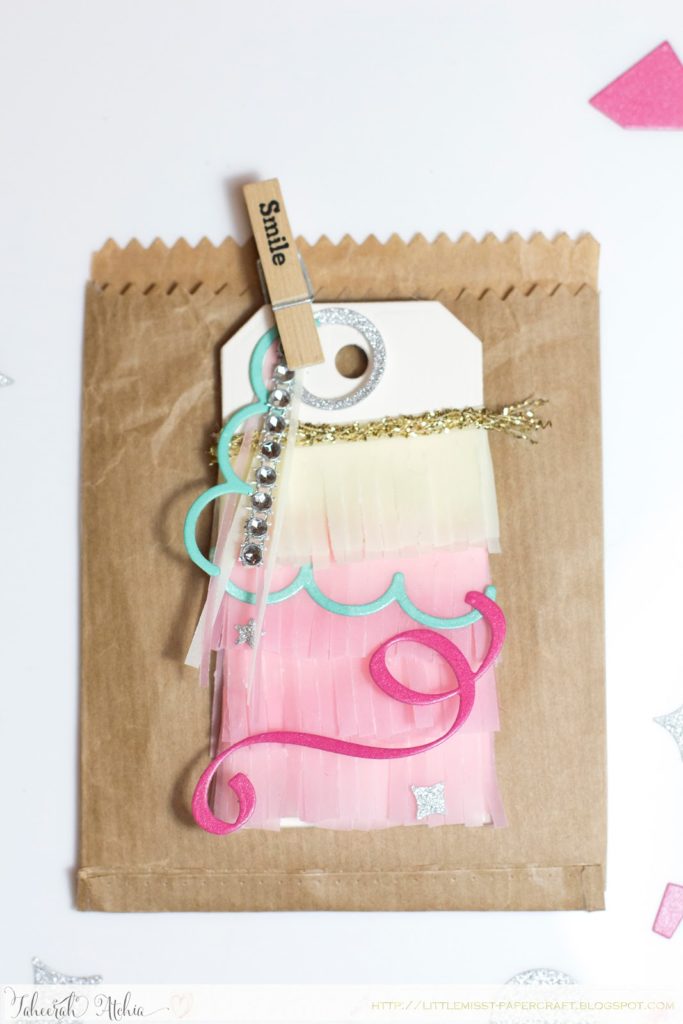
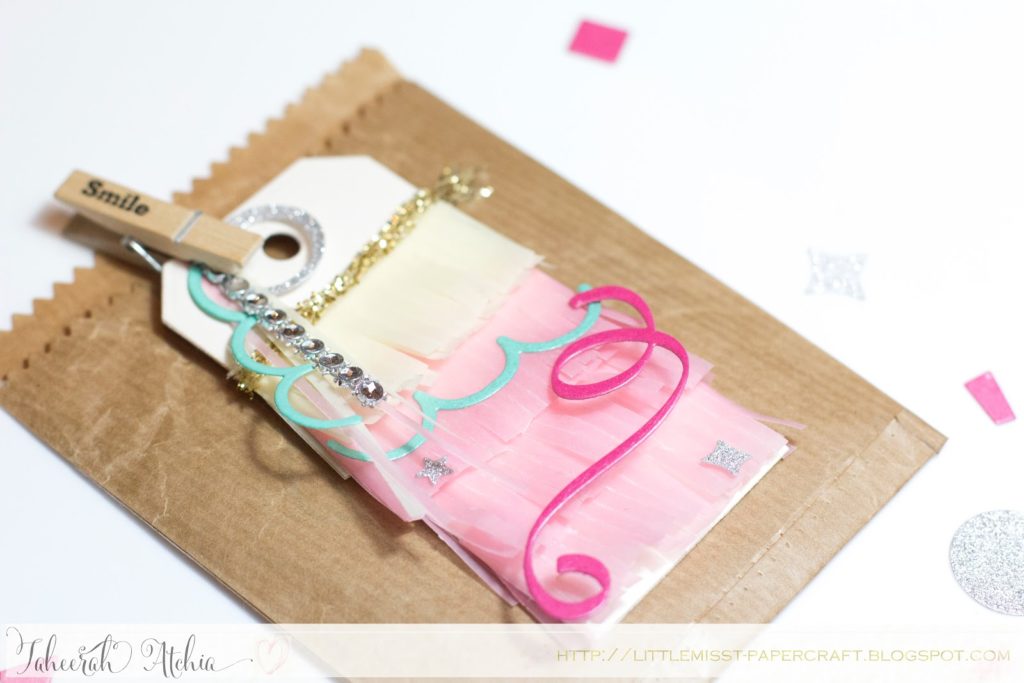
I adhered the fringe to a tag cut from Vintage Cream cardstock die cut using the larger tag die from the Essentials: Katharine Cutaways set. I adhered each layer at a slight angle (one could even call it jaunty, *wink*!) then adhered some gold ribbon over it. I adhered another tag to the reverse to keep everything nice and neat.
I adhered some die cut accents to the fringe next – the large confetti swirl is die cut from Shimmer Raspberry cardstock using the The Party Confetti Cutaways, and the scallops die cut from SU! Coastal Cabana cardstock using the Goldie Trim Cutaways. I added some smaller die cuts from the Big Bang Confetti Cutaways die cut from POW! Silver Glitter Paper too. All of these were adhered using Multi Matte Medium. As a little tip: to create those scallop die cuts but at a shorter length just die cut once, then move the cardstock in the die to cut shorter lengths from it, all whilst keeping that nice die cut edge you don’t get with scissors!
To finish off the tag I added a fun clothes pin which clipped on some longer thin pieces of the vellum (scraps from die cutting the fringe!), another smaller piece of the scallop die cut and a small strip of Gelly Gems, as well as a kooky ring which I die cut using the Big Bang Confetti Cutaways again. I love how festive this tag is!!
So, I wanted to photograph the tag with a brown paper bag, but I didn’t have one. So I made one. Using the Essentials: Katharine Cutaways. Oh yeah. Very simple it was too – I die cut two of the larger rectangles from brown paper, used the pinking die from the set to cut the top, scored the pieces and used Scor-Tape to adhere them! Simple! And so much fun and rewarding to make!! See how versatile these dies are?!
There’s a ton of inspiration on show on the Winnie & Walter blog, you really must check out their post here to see more!!
Before I go, I just want to once again thank Julie and Shay for inviting me to work with them again. They are seriously some of the most amazing ladies in the industry and their company one of my favourites too. I just love them so much! Thank you for having me!!
Thanks so much for stopping by – I would love it if you left some love before you went on your way!
Supplies


Wonderful inspiration! TFS.
Absolutely, positively fabulous, Taheerah! The thought and details are amazing and that you made everything with w&w cutaways is so clever! Of course you love this project!! It has been a blessing to have you join us for our A Week to Die For!
Oh, I love this!
Such a fun tag! Love all the texture and sparkle!
Totally, SWEET!
The fringe on the tag is so cute, love the soft floaty feel it has 🙂
Kate xx