Hi everyone! How are you today?
Remember the Clean & Simple Card Making 2 class that I took a while back and enjoyed so much? Well, I had such a good time with it that I decided to sign up for another Online Card Class – this time one focussing on the use of patterned paper. Pattern Play has only just begun and it’s already looking like so much fun! There’s still time to sign up if you want!
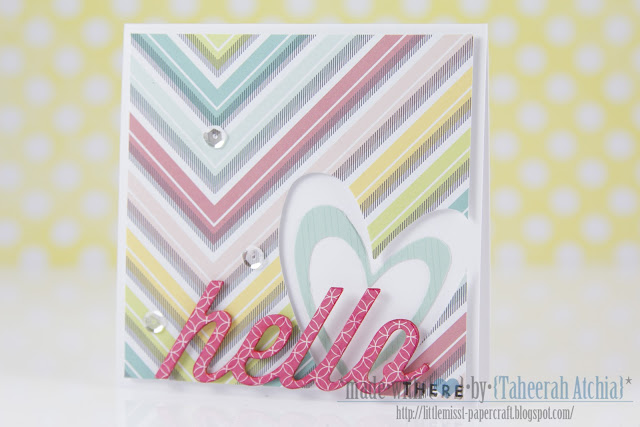
So, anyway. Day 1 was all about basic tips for combining different patterned papers. Our ‘homework’ was to put these tips into action and create a card that used the theory we’d been taught. Here’s what I came up with:
What do you think? I don’t think I’ve ever used so many different patterned papers on a card before! Hopefully I got the balance just right – I *think* I did!
I started with some papers from the 5th & Frolic and Everyday Eclectic collections (I *do* own more patterned papers than these, lol, but I’m just diggin’ them a lot lately!). After pushing some paper round my desk for a little while, I decided to combine the three that you see here.
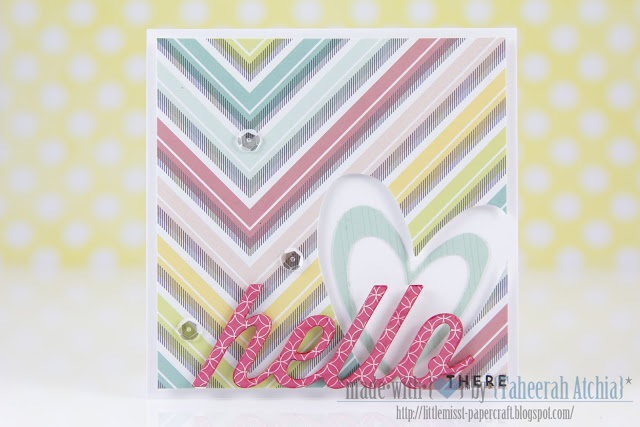
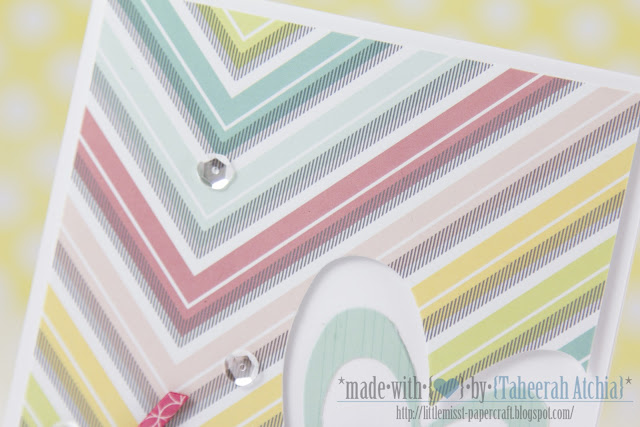
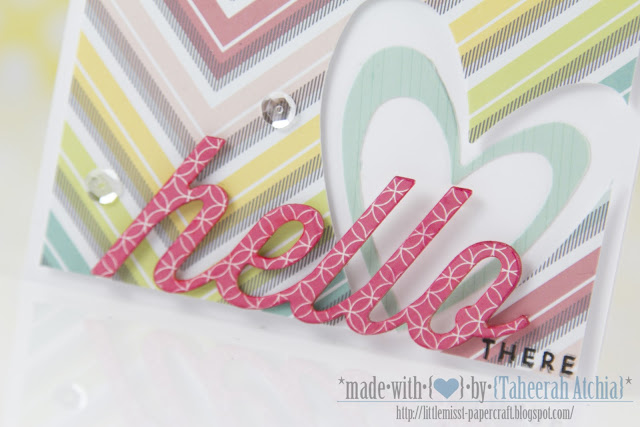
I used my bold pattern as my main paper – good decision or not? Certainly risky! I ‘tamed’ the busy-feel of having too many papers by creating some negative space by die cutting out a heart from the main pamel using my Concentric Hearts die. I die cut my neutral paper using the same die and added one of the smaller hearts into the negative space to add some interest. The main paper was adhered to my Stamper’s Select White card base using Pinflair Glue Gel, and the smaller die cut with Glossy Accents. I stamped the ‘There’ sentiment from Wonderful Words: Hello onto the panel using Versafine Onyx Black ink.
I die cut the ‘Hello’ word from one of my small patterns using the Wonderful Words: Hello die. I also die cut it from coaster board and adhered the two together. I ran a Copic marker round the edges to tie the colours together and to add a little definition before adhering to my card using Pinflair, and finally added a few clear sequins for subtle embellishment. Mixing patterns, negative space, dimension… I think I packed in a lot of the tips into one card!
Well, I am all set for Day 2 to commence! I would love to hear what you think of this little card though, so please do leave some love if you’re feelin’ it! Thanks so much for stopping by, hope to see you again soon!
ETA: I’m also entering this into the Moxie Fab World Emphasize The Negative Challenge. Have you checked out these challenges lately? They rock!!
Supplies:


Hey Taheerah! Thanks for linking this up to the Emphasize the Negative Challenge in the Moxie Fab World! I'm so glad you joined in on all the fun! 🙂
Oh, this is gorgeous, T.! I have this pp in the 12×12 size…. I need to use it ASAP now that I've seen your fabulous card!
Fab card, Taheerah! Love the off set diecut heart and the vibrant "HELLO" against the gorgeous Dear Lizzy Pattern paper. Love it.
Can it be, that the very top corner of the "h" is exactly in the point of the patterned paper? An accident? I think not! You are so darn smart! Love the patterns together, and the die cut bridging the open heart. A wonderful, wonderful design!
Love your paper. Great job.
Great use of that paper!!! So cute!!!
Great card…love the pp word.
WOW! So stunning!! 🙂
Gorgeous! This card just makes me smile 🙂
love your use of patterned paper here. That heart die set is so cute. right on my wish list.
Gorgeous card!
LOve that very trendy style 😉
TFS~
You definitely got the balance right. This is FANTASTIC! I love the nested heart, the hellow, the sparkle, perfect!
fabulous use of the patterned paper! super card!!
Oh my! how gorgeous is this!!! Absolutely love the colors and your layout. So creative, Tahherah! I am totally pinning this!
Oh my word, this must be my favourite recent card of yours! LOVE the sleek look, colour coordination, the brilliant use of paper, but the layout is the winner! Genius!
(now go and link it up in Moxie Fab's Emphasize the Negative challenge. You'll thank me later) 😛
Pattern paper is my nemesis – I will be signing up for this! As for you? Go straight to the top of the class T 😉 xxx
I love that paper, T! It's my rainbow on this very snowy day, but the design steals the show – love the hearts, and the hello diecut along the bottom. So fabulous!
Perfect pattern paper balance!! I love how the patterns that enhances your chic design! AWESOME!
I detect an A* student here! ;D
Fab mix of pattens and great design!
Hugs!
x
My goodness – this is awesome! Great choices of patterns and colors. The bold "hello" and the negative space really do tame the pattern.
Such a gorgeous card!
Love this! Perfect pairing of papers…say that five times fast ;o)
I must get that paper!!!! Love it T! Everything is perfectly placed……..gorgeous!
This is awesome, Taheerah! I love how the paper makes my eyes go down to the "HELLO" sentiment. 🙂 Very well done!
Beautiful!
This is really cute! Love the paper!
I LOVE this!! I'm also totally digging that paper. I've been obsessed with it since I first saw it, and I'm jealous you have it! I think I need to place an order…
Anyway, sorry for rambling- back to your card 🙂 I love the different patterns you used and the heart accent. Super cute!