Hi everyone! Happy September! I can’t believe how fast the year’s going!
I wanted to apologise for my long break from blogging. I know it might have looked like I was in a sulk after not making the Gallery Idol final but that is very far removed from the truth, I promise! On the day of the results I had to put one of my beloved cats to sleep and, well, let’s just say it left me in a bad place for quite a while. So I’m really sorry for my absence and hope I can make a more regular return to blogging, hopefully starting with this post.
Anyway, onto happier things!
Today I’m bringing you a project that is a true work of heart – one that I’m truly proud of!!
I saw a great use for the Fabulous Frames polaroid frame die on Maile Belles’ blog recently – she had used the die to create a photo frame! Genius! I read the tutorial with interest. I was sure I could create a ‘version 2.0’ that would be better and have my own spin on it. And I couldn’t think of a more appropriate stamp set to use than my all-time favourite Gel-à-Tins stamp set – Love Knots!!
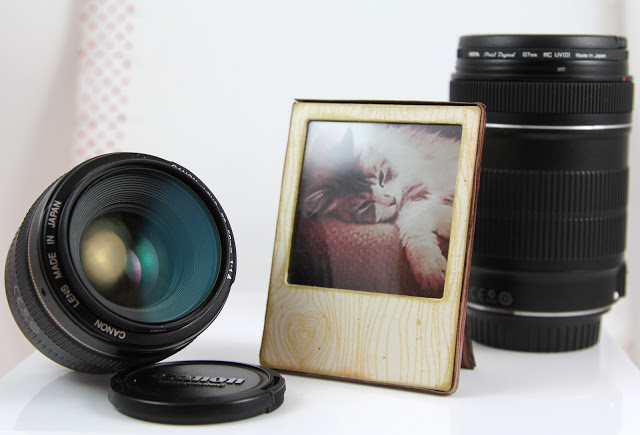
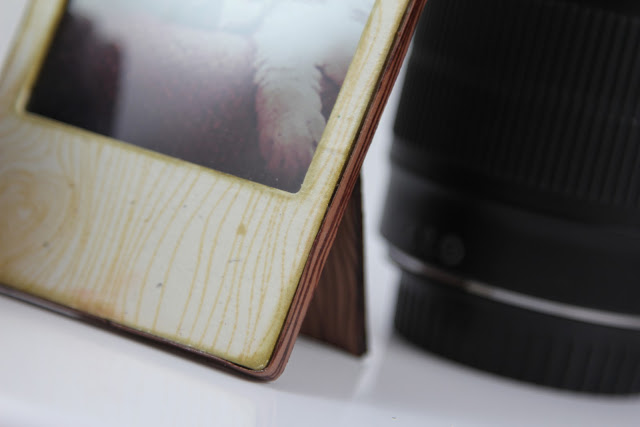
In the back of my mind I wanted to evoke the feel of expensive wood furniture – the kind with a a mix of a cream and proper wood tones finish, glossy, modern, funky. You can tell me if I’ve managed to succeed:
What do you reckon? I’m so über-proud of how this turned out – completely in love with it!!
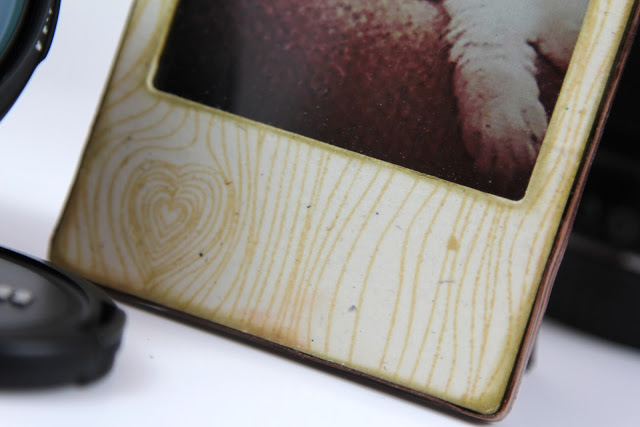
I started by die-cutting the frame from Rustic Cream cardstock and cream coasterboard. I wanted quite a few layers to make the frame sturdy. I stamped the Love Knots stamp on the top layer with Fine Linen ink, inked the edges with the VintageTouch Tea Dye Duo then adhered all the layers together. Between the coasterboard and final layer of cardstock I sandwiched a piece of Clear Cardstock (acetate sheet) to create the frame ‘glass’ (the original idea didn’t have this).
I hand-cut a piece of chipboard to the same dimensions as the frame front, the cut a wider gap in the top and further down than the frame aperture ended. This is to serve as the ‘spacer’ between the front and back to slot a photo in. Once this was adhered in place I could add the back piece/layers, cut by hand to match the frame dimensions and stamped with Love Knots as well for a cohesive look.
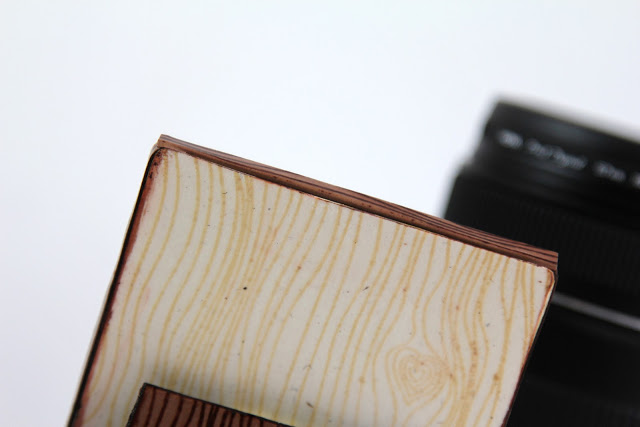
I trimmed a strip Brown Leather Satchel cardstock (from Clear & Simple Stamps) to the depth of the frame and stamped it with Love Knots using Dark Chocolate ink. I adhered this in place with Scor-Tape. Once all the layers were adhered I ‘painted’ the frame with Mod Podge (which I’d also used to adhere the layers) then sprayed with a couple of coats of Spray & Shine gloss spray to give that shiny expensive look I was after.
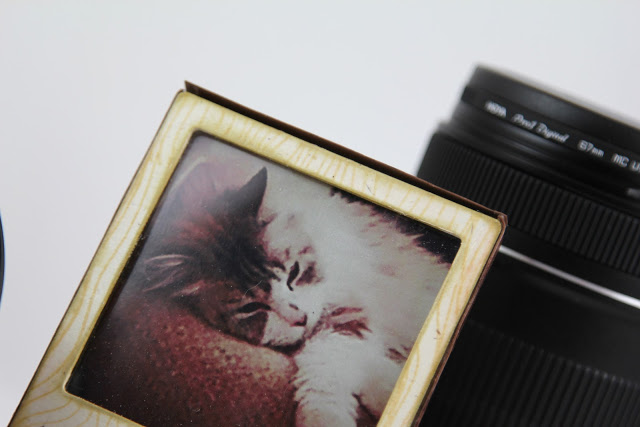
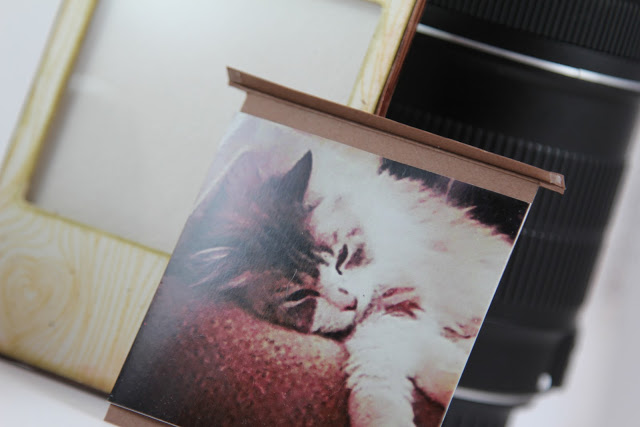
To add the photo I measured the gap at the top and trimmed a rectangle of Brown Leather Satchel cardstock that could be slotted into the gap and have some overhang to finish the top and make it look seamless (again a modification from the original). I added a fold for the top so that the tab could be pulled in and out. It looks like a distorted ‘T’ shape when unfolded.
I stamped the top with Love Knots and brown ink as before, painted with Mod Podge and sprayed with gloss spray as before. I added some thin foam adhesive squares to the tab to adhere the photo in place. Before adhering the squares I repeatedly pressed them between my fingers to remove some of the tackiness, so that they became more ‘temporary’ – meaning the photo can be switched if desired! The photo, by the way, is of one of my sweet cats – isn’t he adorable?!
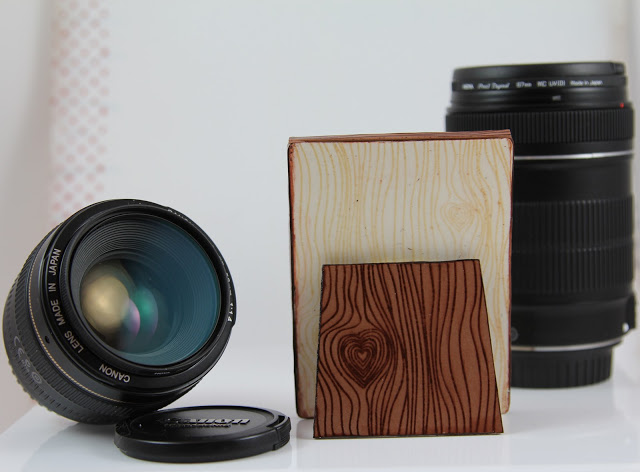
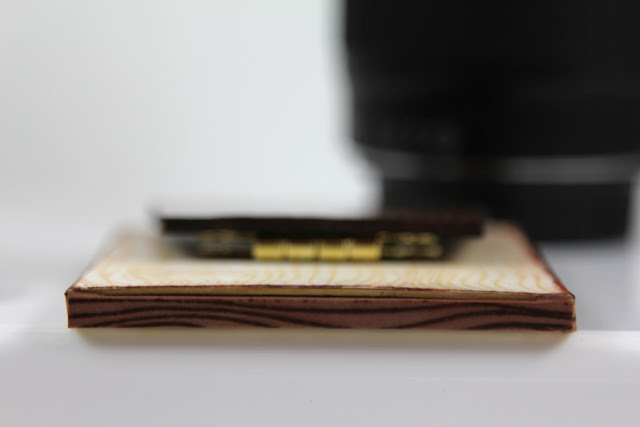
To make the frame usable I wanted it to be able to stand by itself. The original idea in blogland was a piece of cardstock cut at an angle and adhered to the back, but I wanted mine to be like a real frame – I wanted a hinged stand!
I set about creating one with some chipboard and stamped Brown Leather Satchel cardstock pieces (all stamped and prepared as mentioned with the pieces above). I backed each side of the chipboard with stamped pieces and inked the chipboard edges before painting and glossing as before. I used some Pinflair Glue Gel (for extra strong hold) to adhere a hinge in place – and my frame was done!!
I’d love to know what you think of this project. It took many hours and a lot of thinking to plan the design out before executing but I think it was totally worth it! Would love to know if you agree! Thanks for stopping by!!


Work of art! Love!
Love it!!!
Extraordinary T – you always to that extra mile with stunning results 🙂 x
OK. Maybe I *do* need that set! LOL!
Fabulous project!
Hugs!
x
Good Work… 🙂
Good Work… 🙂
You did a fantastic job with the frame. Love the picture of your kitty!
This is adorable T! What a sweet little frame. Great project!
Super cool, T.! I love it!!